Correct Roof Curb Installation
by Mark Robins | 1 December 2022 12:00 am
When installed correctly, roof curbs support heavy equipment in a weathertight and long-lasting fit
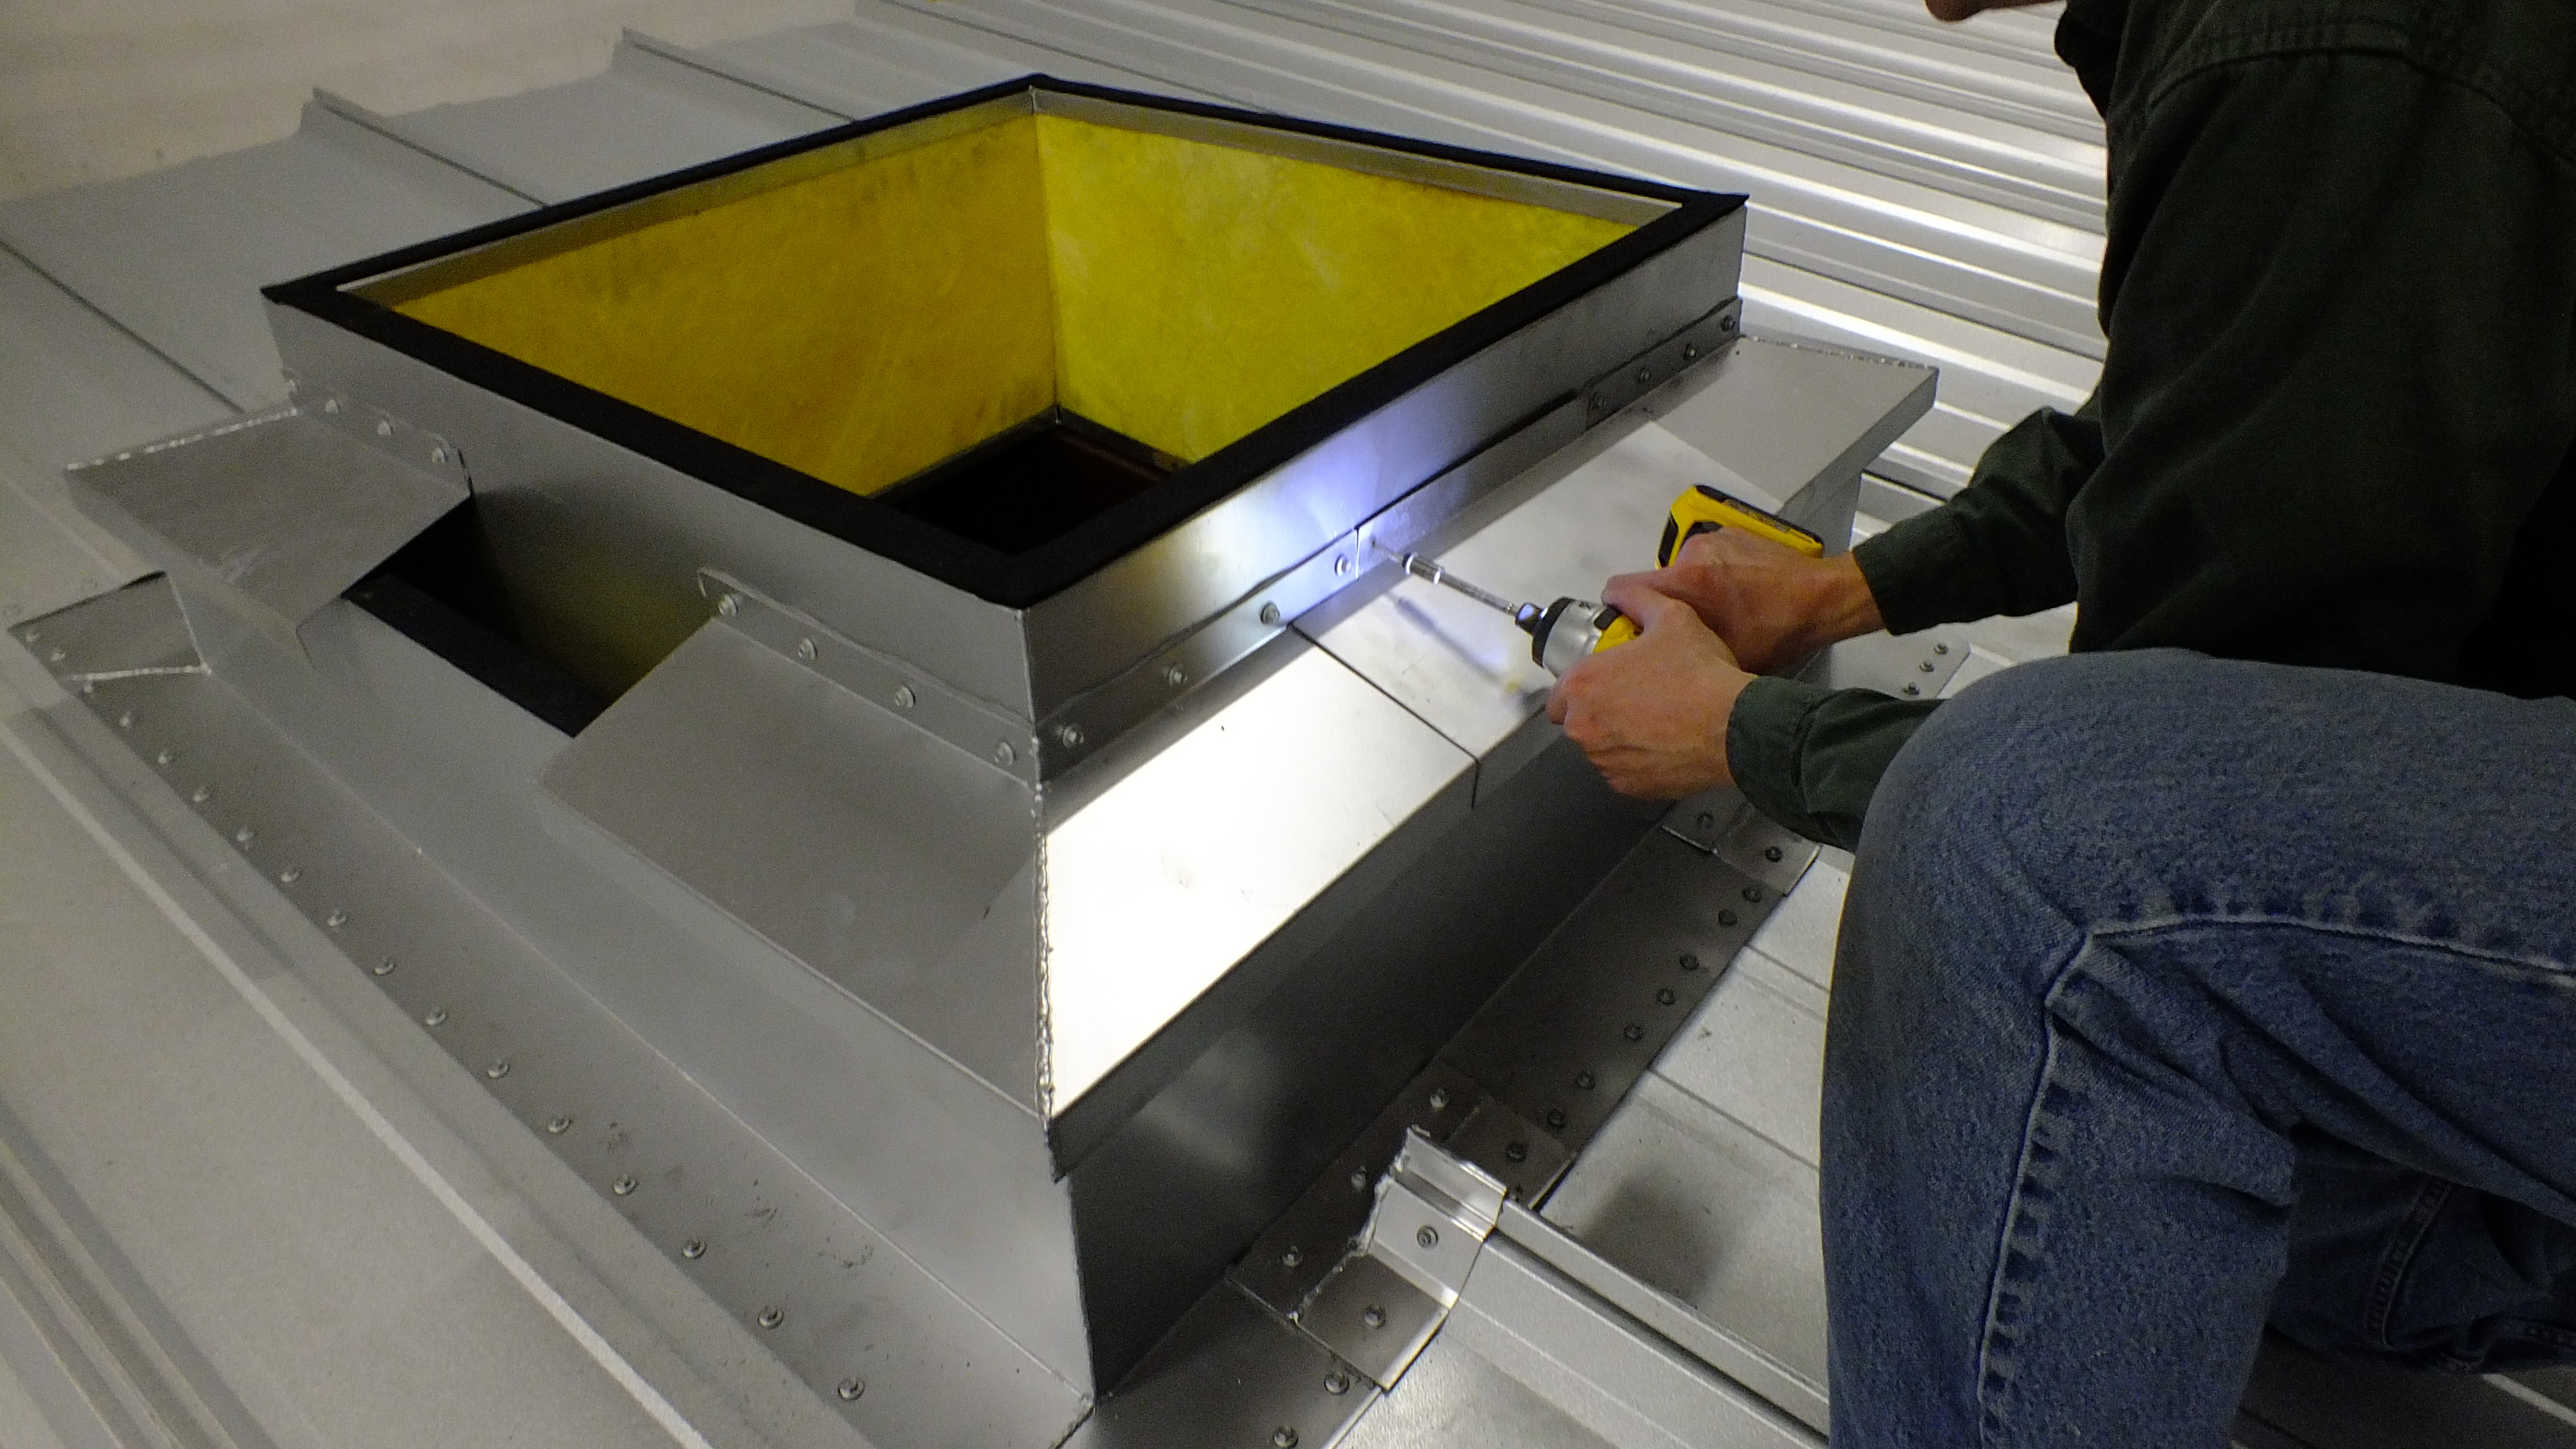
Double roof curb with flashing collar. (Photo courtesy of Design Components)
“Roof curbs are becoming more prevalent on metal roofs due to the popularity of metal building systems in more complex applications, along with code-driven initiatives focused on daylighting, rooftop unit (RTU) efficiency, and ventilation in the promotion of energy conservation and occupancy health,” says Clifton Reasor, vice president of RCS–Roof Curb Systems[1], Trenton, Ga. Greg Conrad, curb product manager at KCC Manufacturing[2], Louisville, Ky., explains that while there are many variations in curb installations, they fall into three general categories:
• Curb flanges lay on top of the roof panels
• Curb flanges lay under the roof panels
• Uphill curb flange lays under the roof panel, downhill curb flange lays over the roof panel
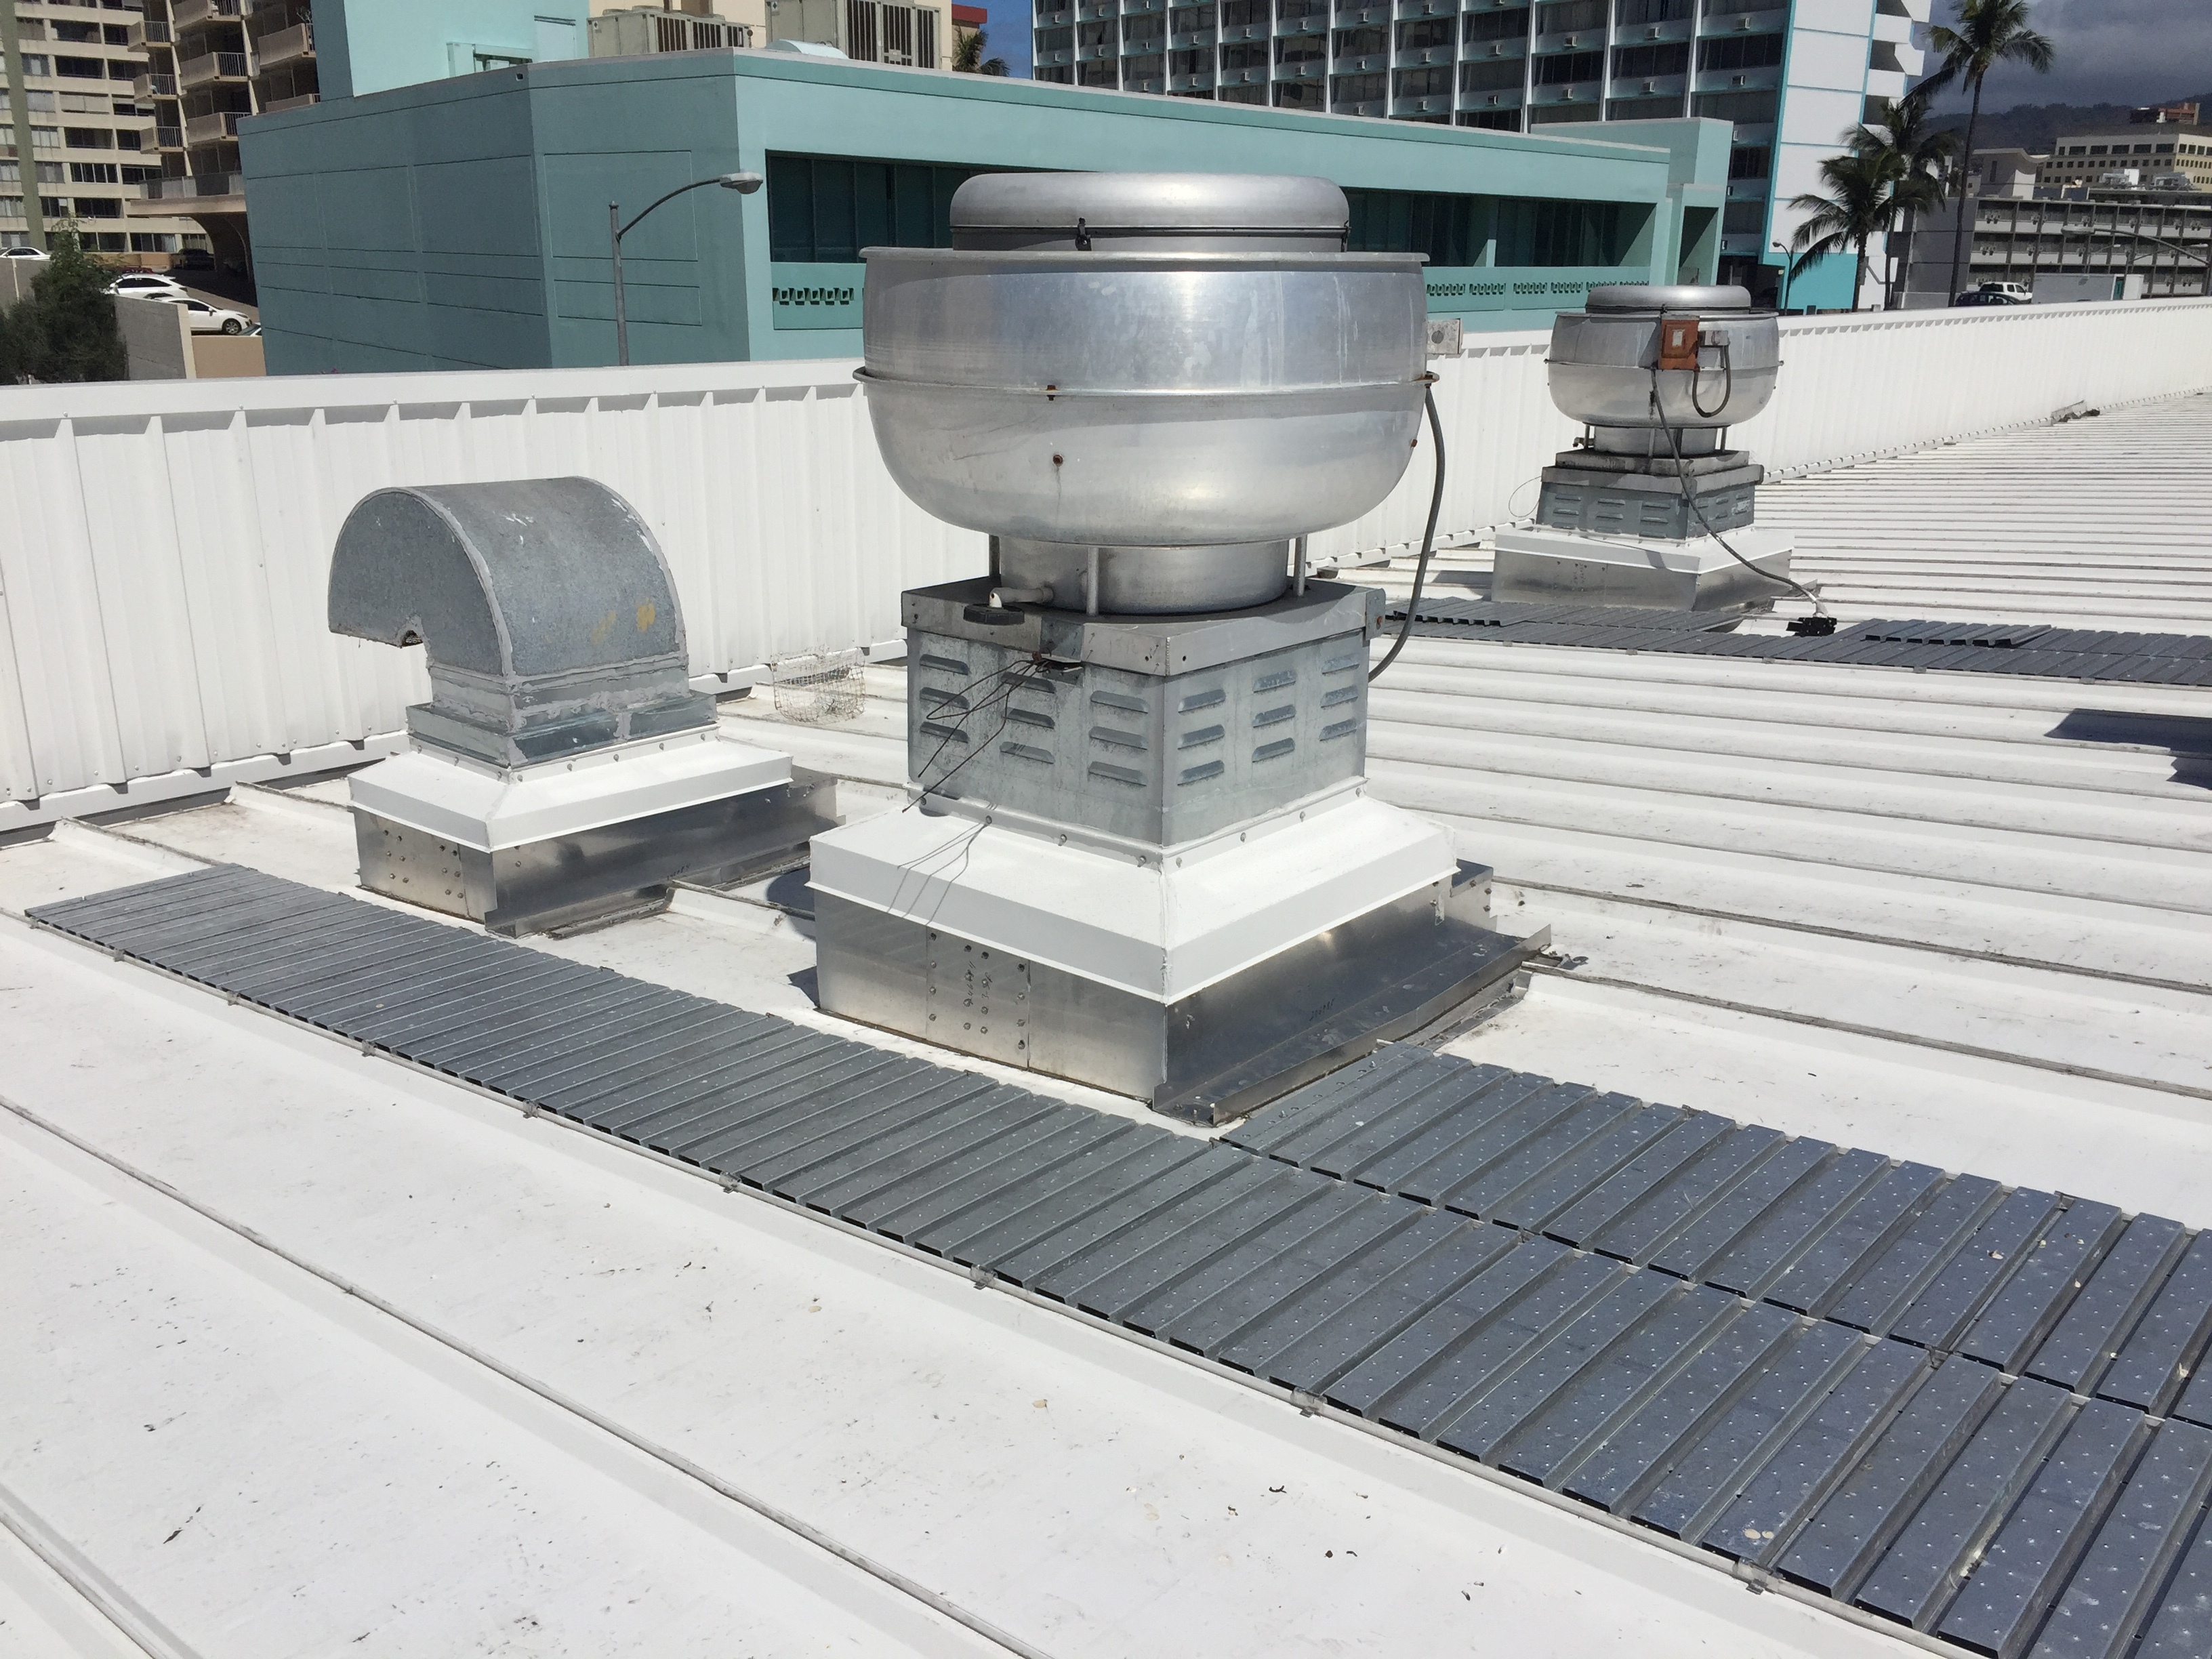
A correctly installed curb on Butler MR-24 roof. (Photo courtesy of KCC Manufacturing)
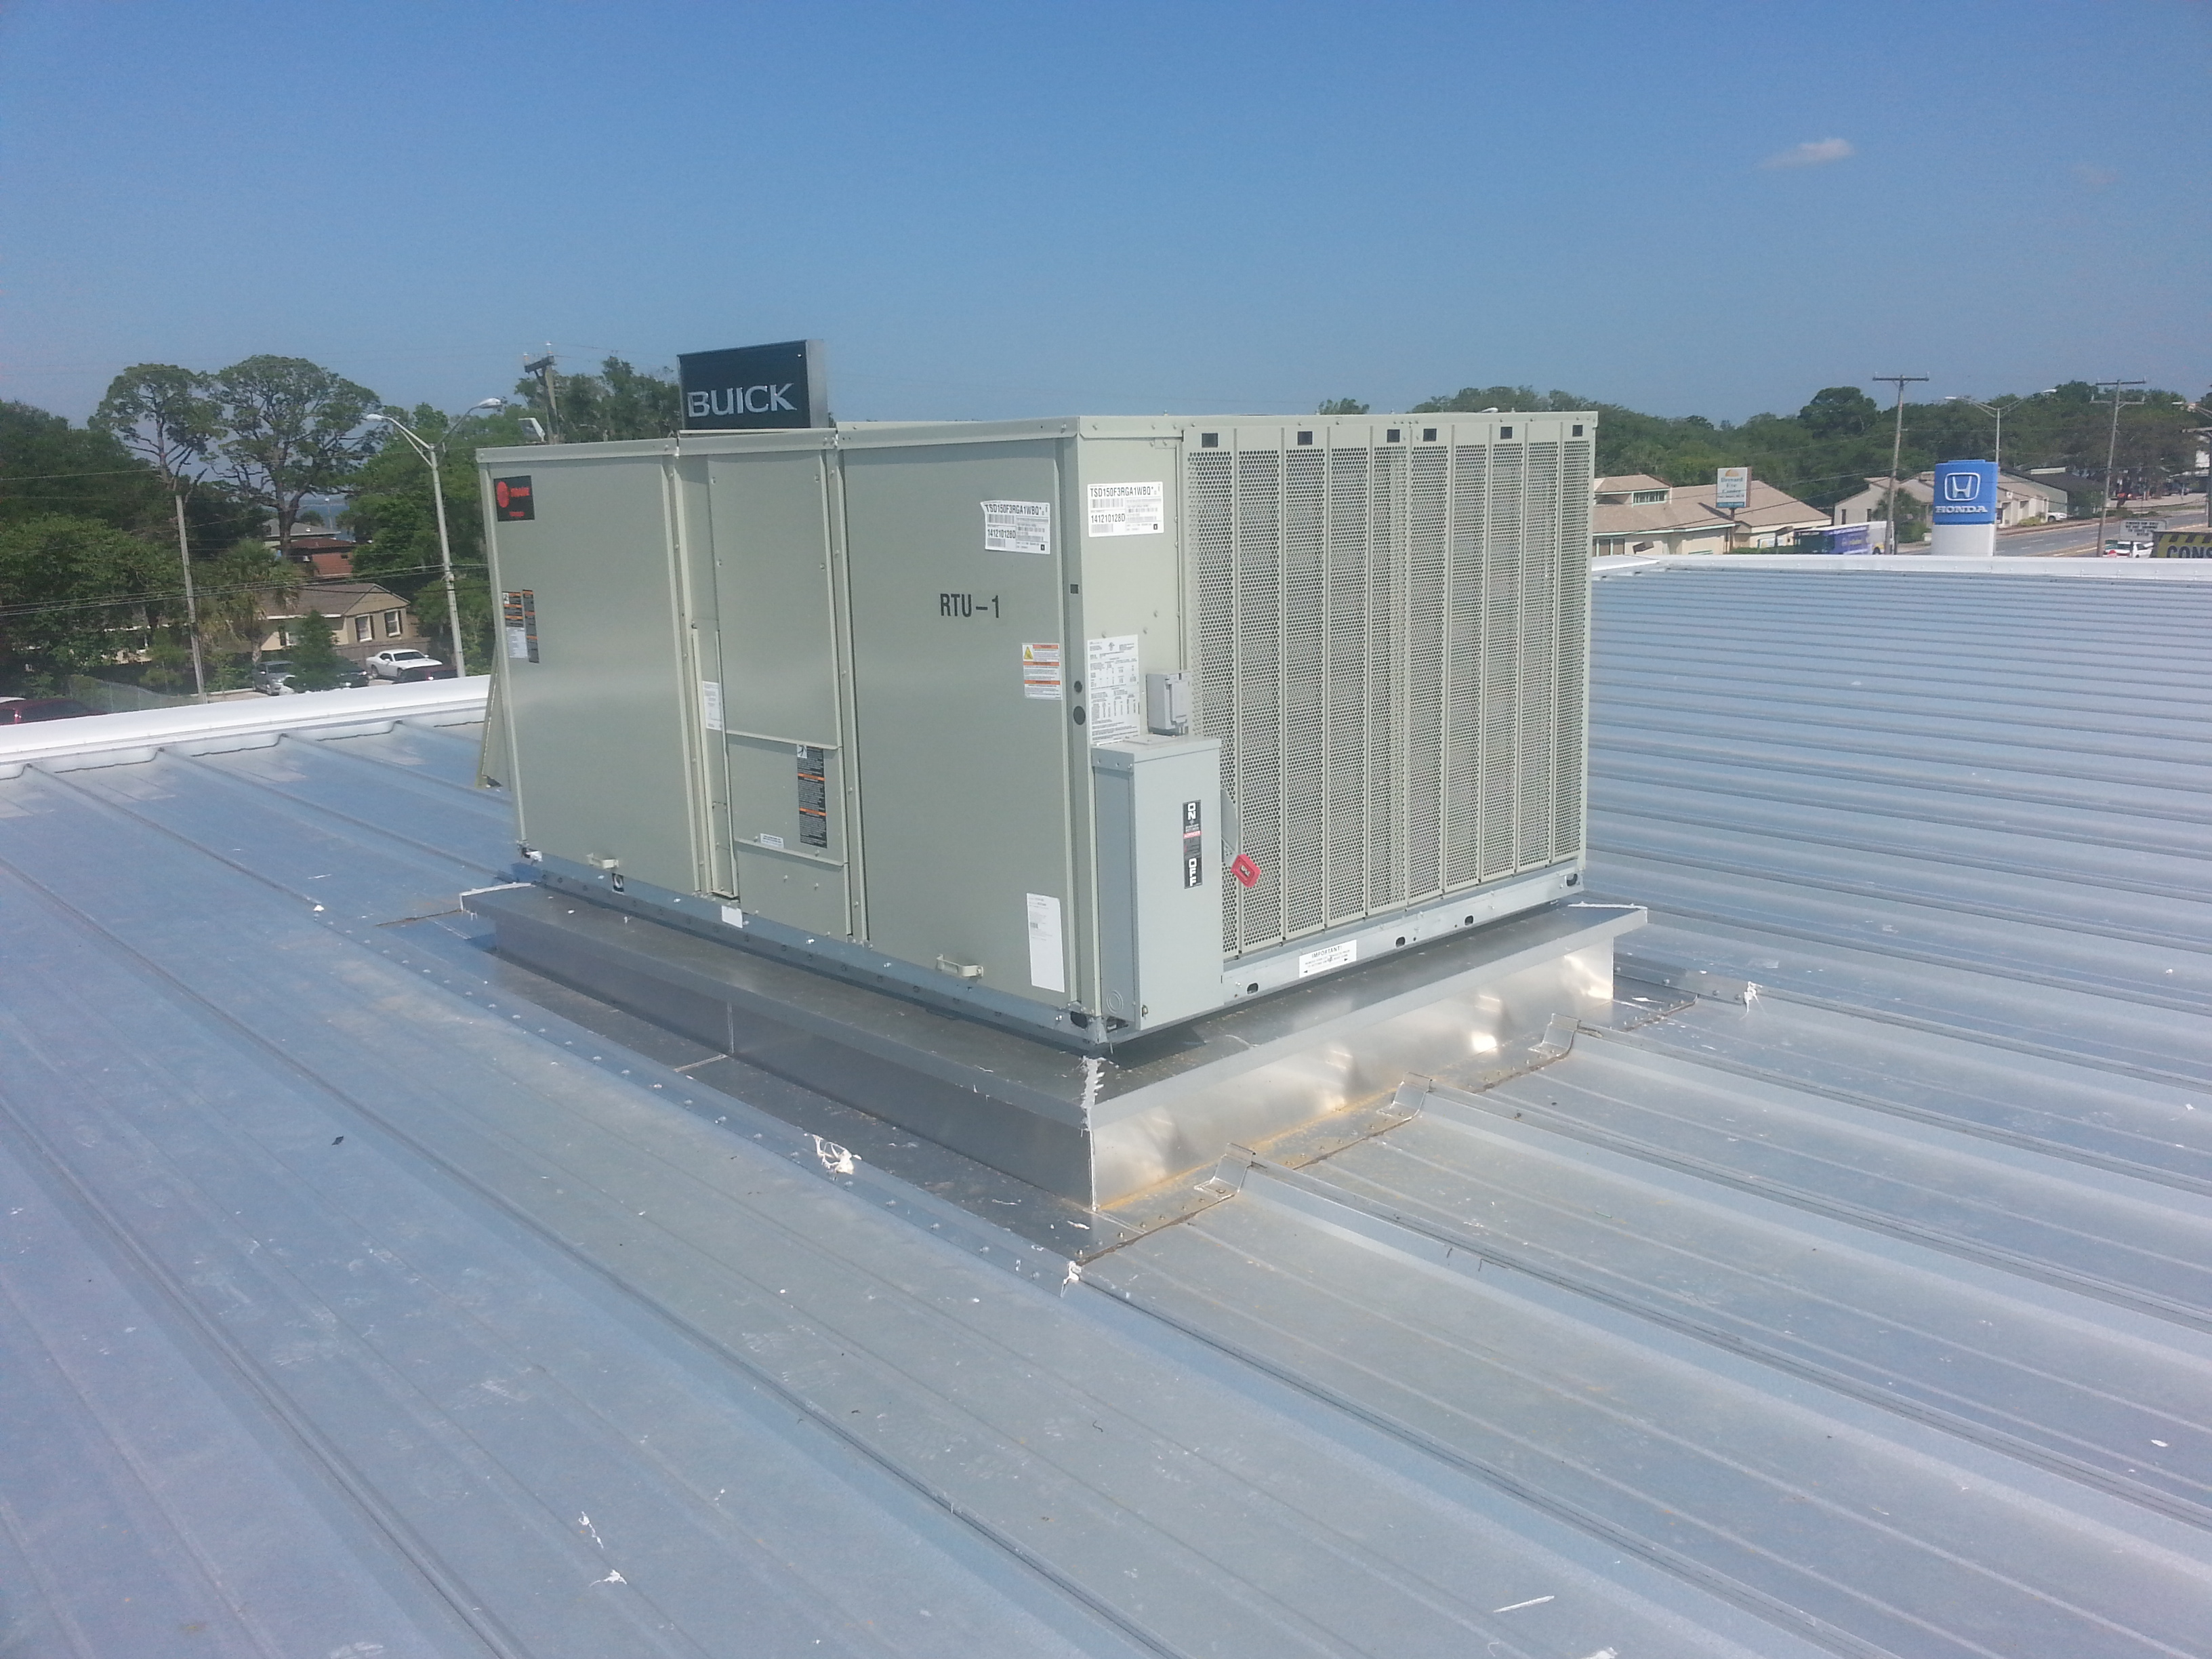
A correctly installed double roof curb. (Photo courtesy of KCC Manufacturing)
Curb Location and Preparation
The location of a roof curb on a building determines the curb’s style, the roof installation procedure and the coordination of installation details. “A roof curb placed on the ridge of a gable building requires coordination of ridge details to properly transition those trims to the curb flange in a weathertight fashion,” Reasor says. “Furthermore, the roof installation should be modified to a floating low-eave condition with the ridge pinned since the saddled curb placement on the ridge prevents thermal movement as it restricts the opposing forces of the two roof planes.”
Conrad explains that if a curb is installed on a standing seam roof—where the roof system is designed to accommodate thermal movement—larger buildings will have longer roof panels and therefore the curbs will experience more movement. “It is imperative that curbs installed on standing seam roof systems must be installed to allow thermal movement.”
Mark Sparrow, vice president, Design Components Inc.[4], Fayetteville, Ga., says, “Ensure that roof panels can support the weight of selected curb and unit while still operating at desired design. It is recommended that all support framing is installed prior to installation of roof panels.”
Double Curbs
RTUs weighing over 1,500 pounds being attached to a standing seam roof may require a double curb. “This consists of a 14-gauge steel inner structural curb that attaches directly to the roof framing,” Sparrow says. “A second curb or outer flashing curb attaches directly to the standing seam roof panels, which allows this portion to float with the roof panel as it contracts and expands. A final third component called a flashing collar is attached to the taller inner structural curb and shorter outer flashing curb to make a watertight seal.”
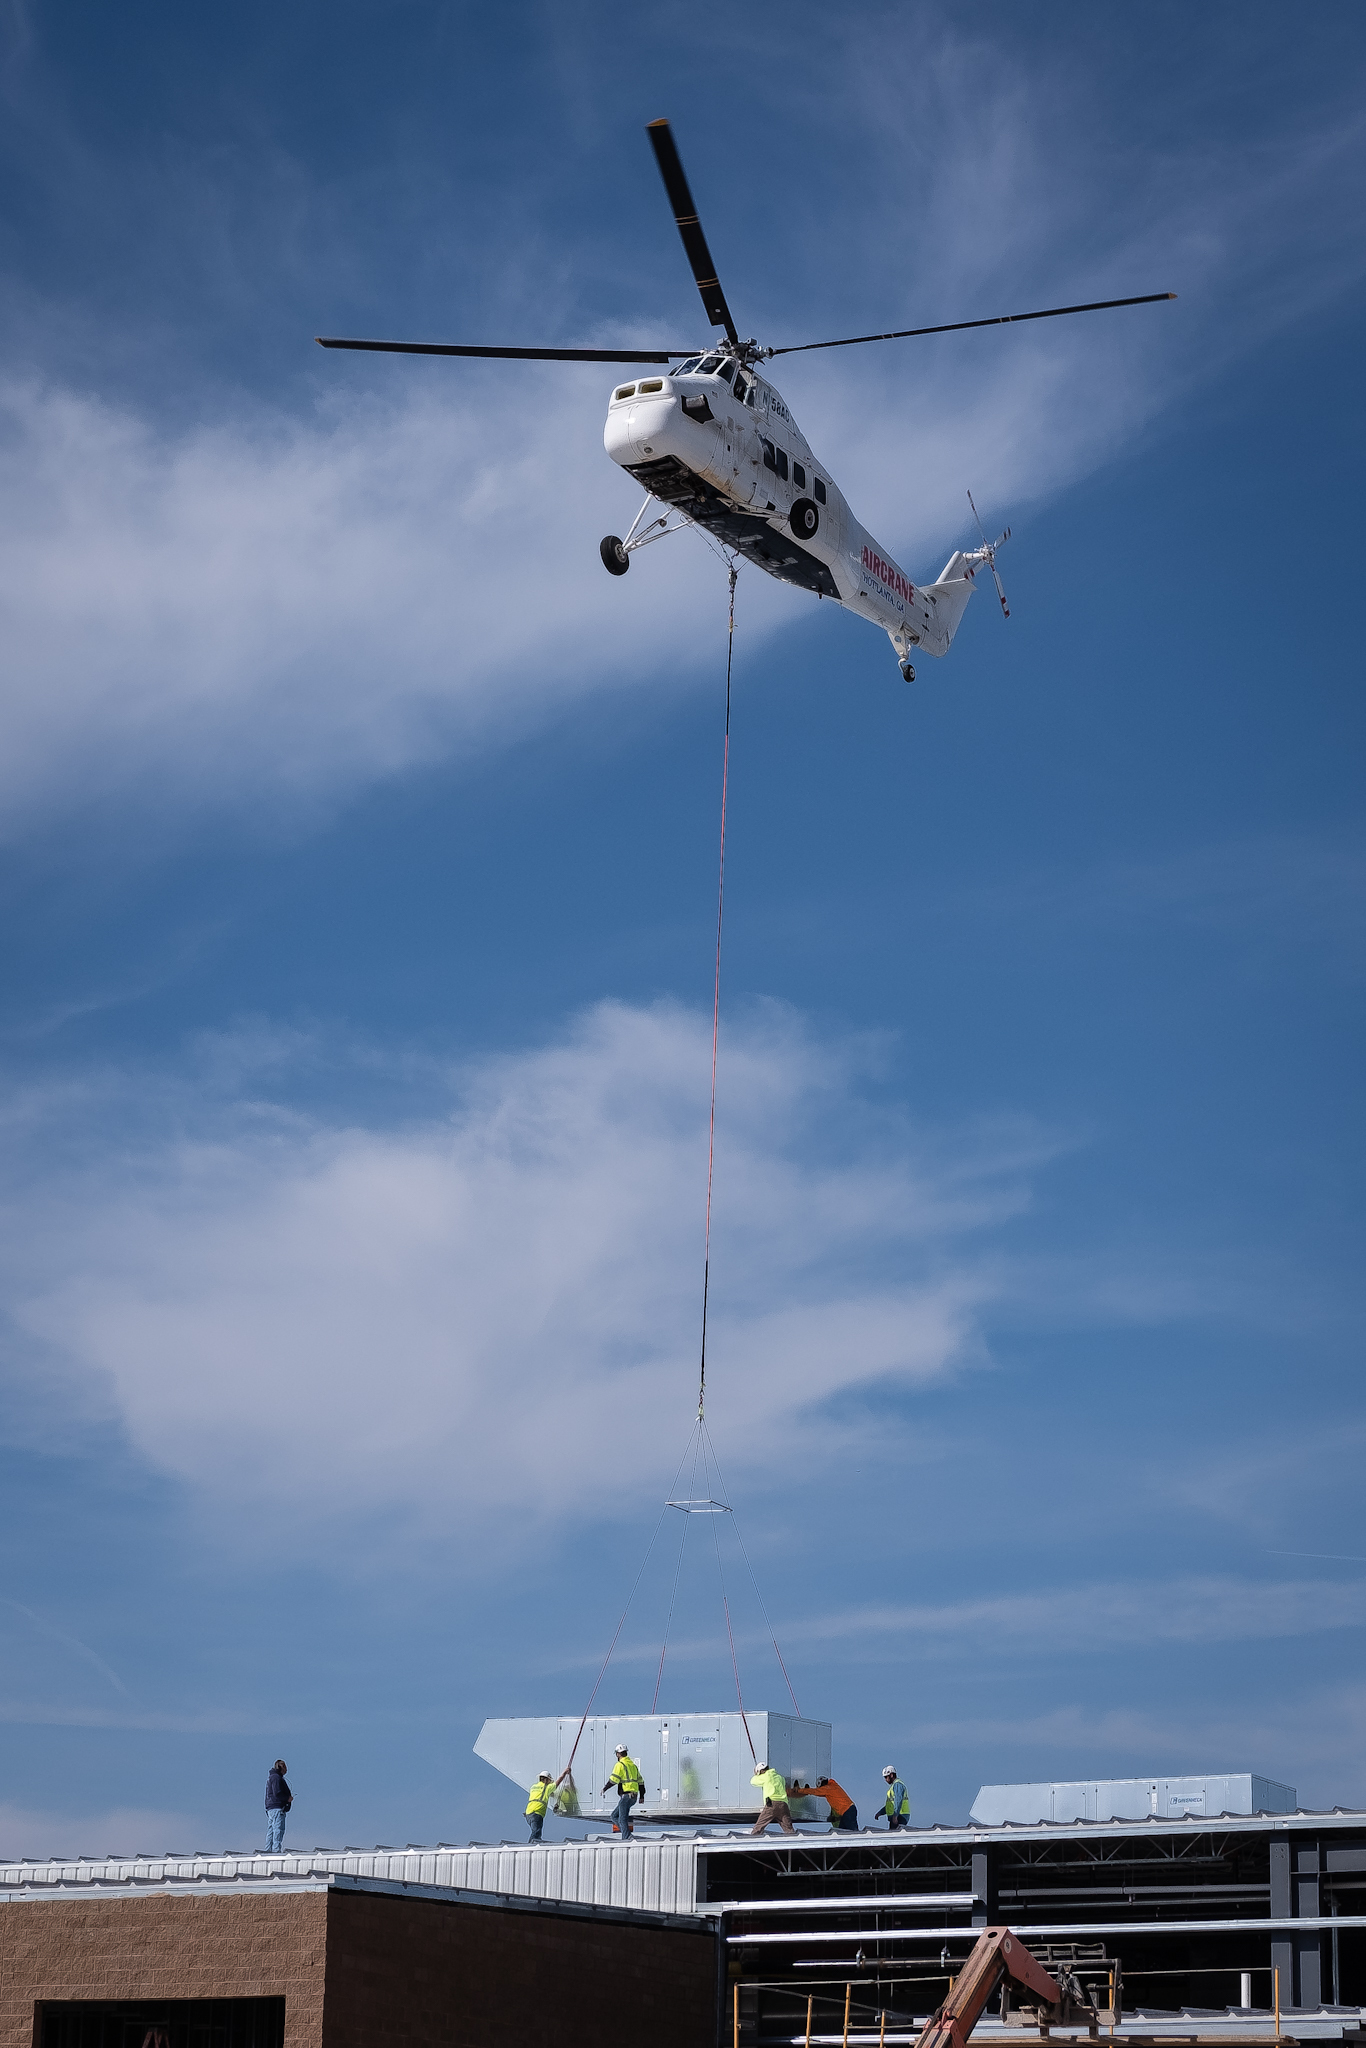
A helicopter places an RTU on a roof curb. (Photo courtesy of RCS–Roof Curb Systems)
Reasor claims double curbs, “Do the real heavy lifting as inner structural curbs typically bear the loads of RTUs over 1,000 pounds and are mounted directly to the secondary framing of buildings. The oversized outer curb incorporates all the weathertightness fundamentals and is flashed back to the inner curb via a collar which acts as an umbrella to prevent precipitation from entering the void between the inner and outer curb. From an installation standpoint, double-curb systems are normally larger and more labor intensive with the structural connection to the framed opening in addition to the flash collar install and outer curb integration with the roof panels.”
Correct Procedures
Reasor believes that if an erector understands and applies the same fundamental details of a panel lap and an eave termination, then they have a high likelihood of sealing out a roof curb on a metal roof. To expand on this, he stresses that roof curb flange connections should utilize the same installation accessories that correspond to the fasteners, sealants and closures of the specific roof panel being applied.
“Similar to a panel lap, construction science has revealed that a shingled curb style is superior so that up-slope connection should emulate a panel lap with a backer plate for fasteners, uninterrupted mastic band and inside closures installed just like the eave condition. Furthermore, side flange connections can differ slightly depending on the curb style, which tends to replicate a high-rib repair detail or execute a connection at the low mesa point of the panel with the appropriate backer to support the fastened connection.”
Conrad claims that most procedural errors result from unprofessional workmanship. “Curbs are generally installed using butyl tape sealant, urethane tube sealant and self-drilling fasteners. Proper placement and amounts of sealants and fasteners are also imperative. When sealants are not placed properly and in the appropriate amounts, leaks will often result. Some people may think that if a little sealant is good, then a lot is better. That’s just not true. The right amount, of the proper type, in the right place, will result in a watertight installation. [Also,] over- or under-torqued fasteners can lead to leaks that are difficult to find. Attention to detail during the installation process will increase the likelihood of a leak-free installation.”
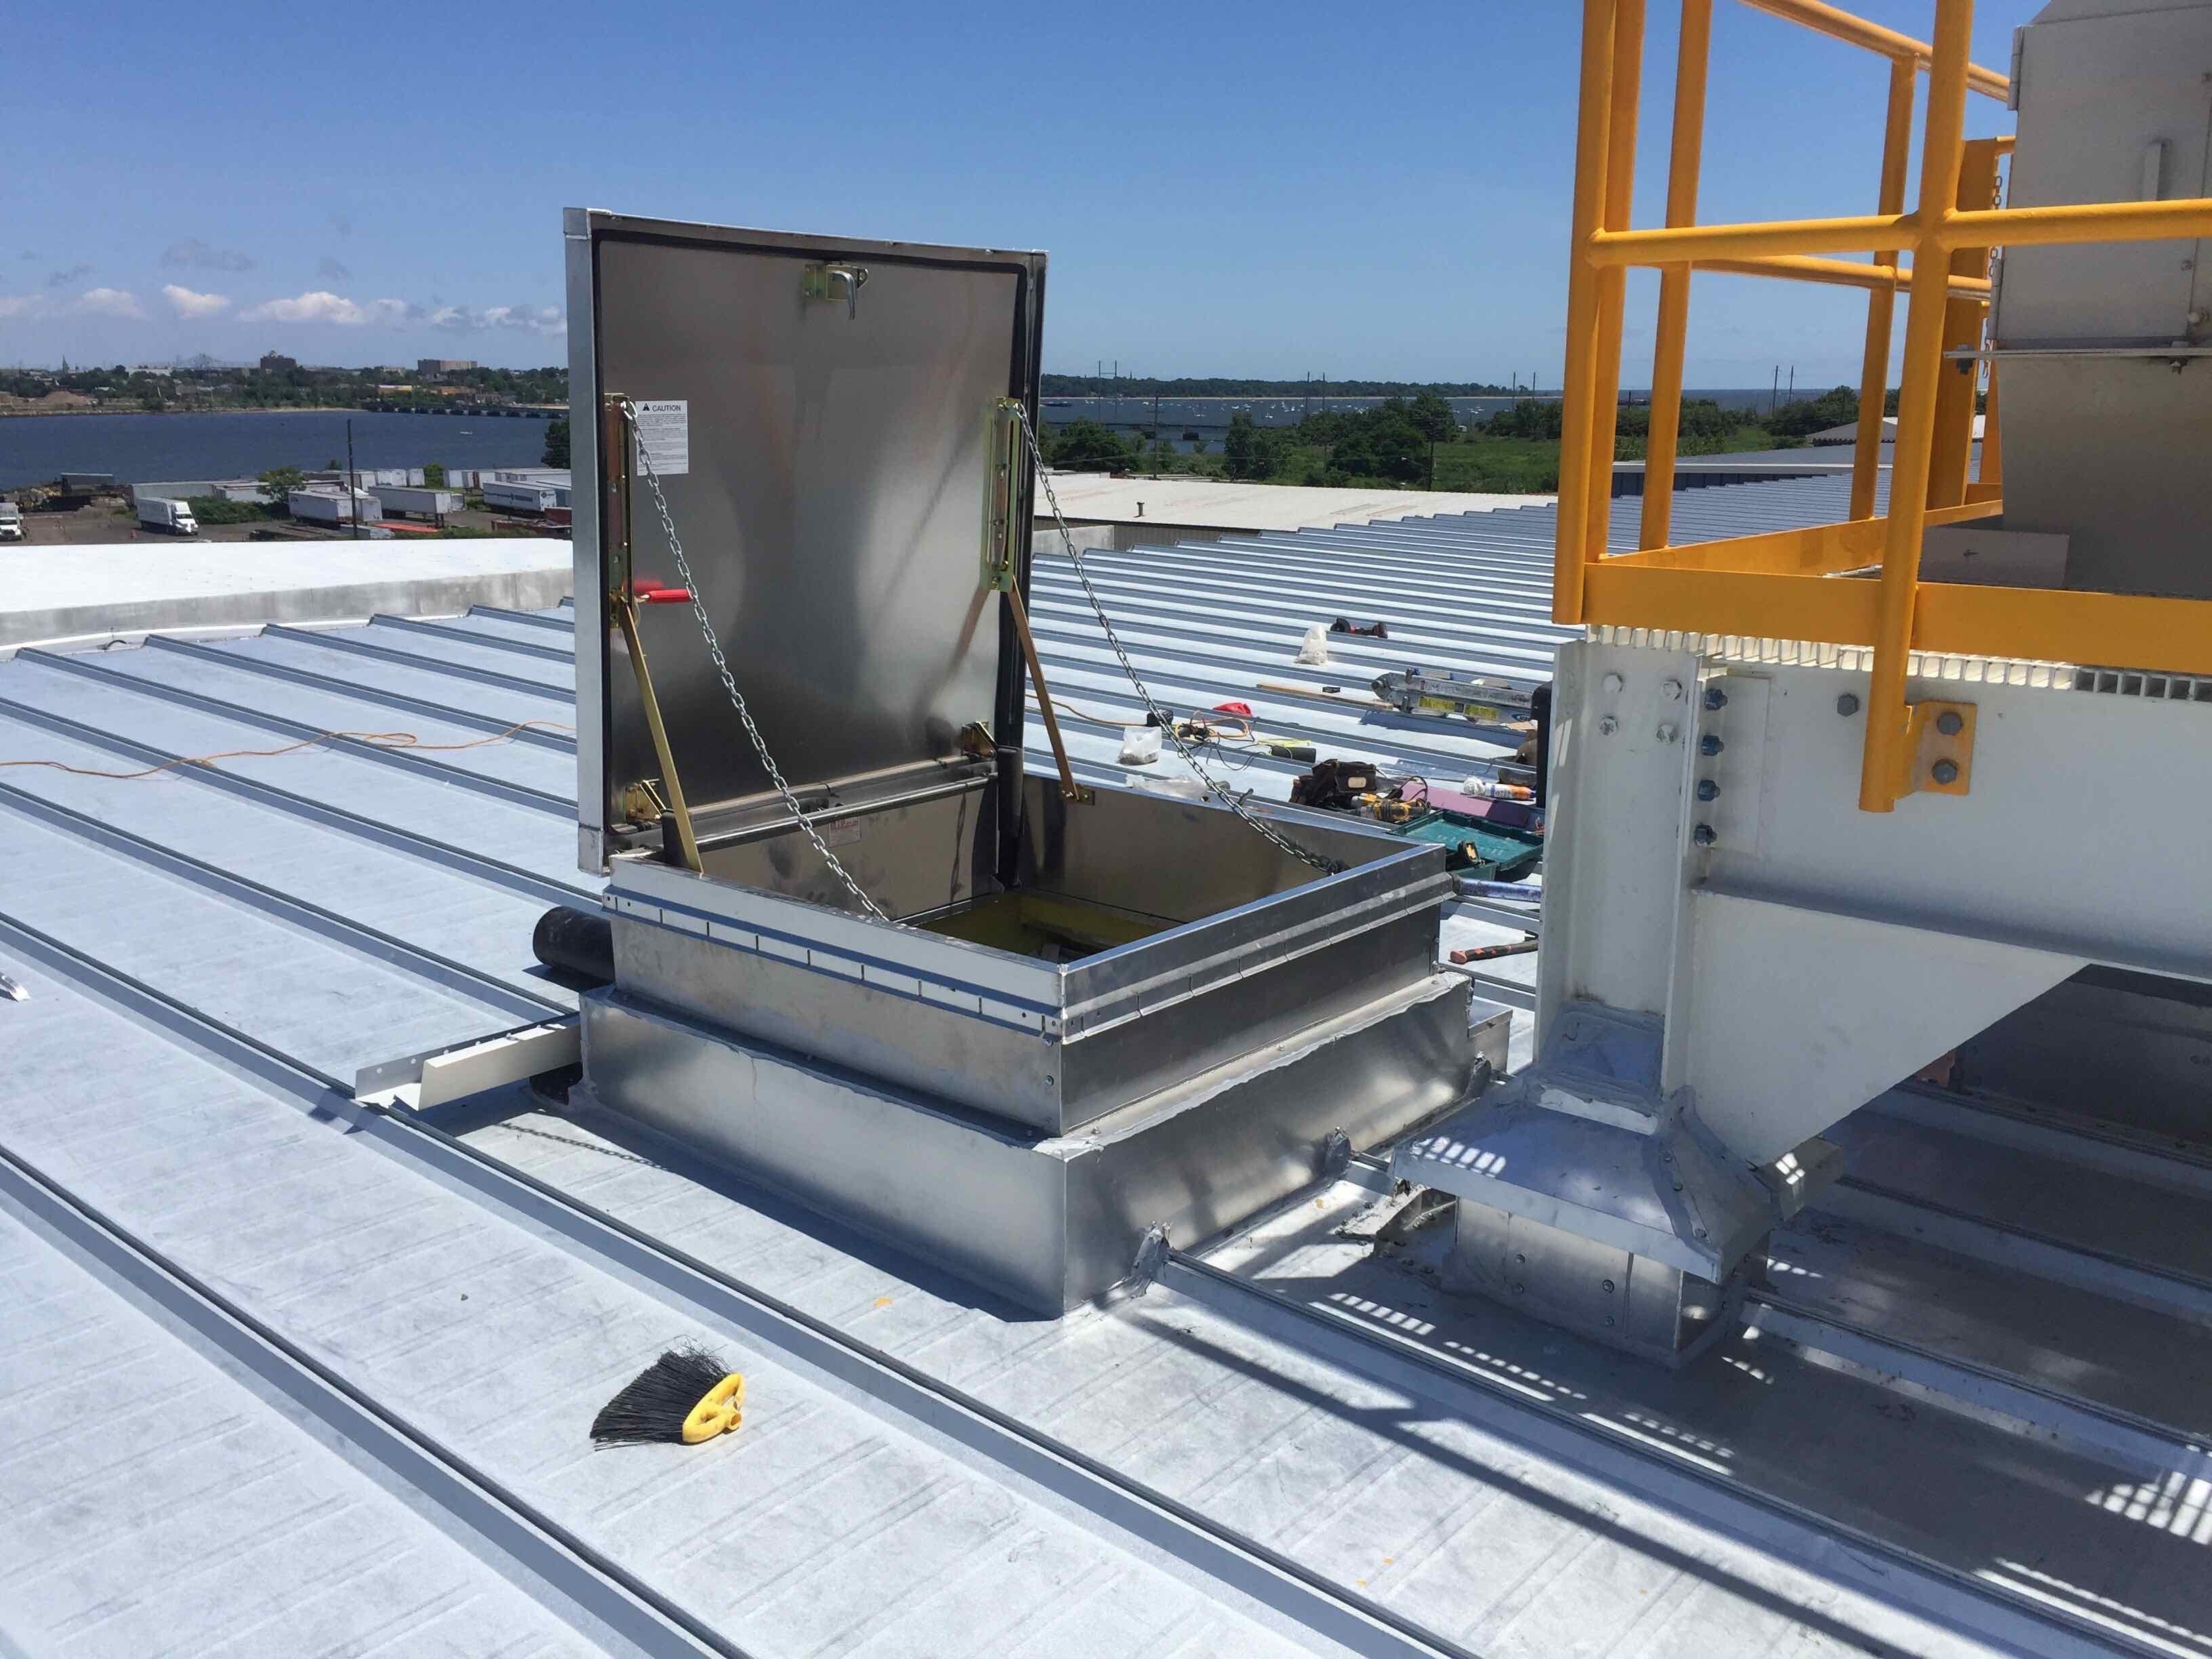
Properly installed roof hatch and curb on Butler MR-24 roof. (Photo courtesy of KCC Manufacturing)
Reasor agrees correct fasteners placement is requisite for correct curb installation. “Fasteners must be placed through the mastic field similarly to a panel lap and the spacing of fasteners should be prescribed by the curb installation details. A band of tape mastic must be continuous along the perimeter of the curb flanges to create a complete long-term weathertight gasket with pigtails applied to all transitions. To avoid issues that develop after a few thermal cycles on the roof, a roof curb must be able to float with the expansion and contraction of the panels and this is only accomplished via specially designed sub-framing systems that incorporate metal building fundamentals.”
Curb Leak Prevention
Leakage prevention begins with the coordination between the installer and the supplier of the roof curbs to ensure an adequate and compliant roof curb system is being provided with installation details to support the application. “On-site shake-out meetings with erectors performing the installation to understand the specific materials and their placement as a completed assembly have been the most useful technique for eliminating install issues,” Reasor says. “Walking through the details and making simple recommendations such as the use of Butyl caulk in certain areas as ‘butter’ to aid in the setting of a curb to maintain tape mastic profile are sure ways to encourage buy-in from the field. Make their job easier via installation resources and they’re sure to listen.”
Conrad advises that installers should place walk boards around the curb opening when installing roof curbs. This prevents the weight of the installer from deflecting the panels and prevents overall damage caused by foot traffic during the installation. “On a typical standing seam roof, the roof slope is 1/4:12, so any panel deflection that equals or exceeds 0.25 inches will create a flat spot in the roof that will cause water to collect. This is often the case on the uphill (diverter) side of the curb and is a common occurrence. This rarely used practice will help prevent this.”
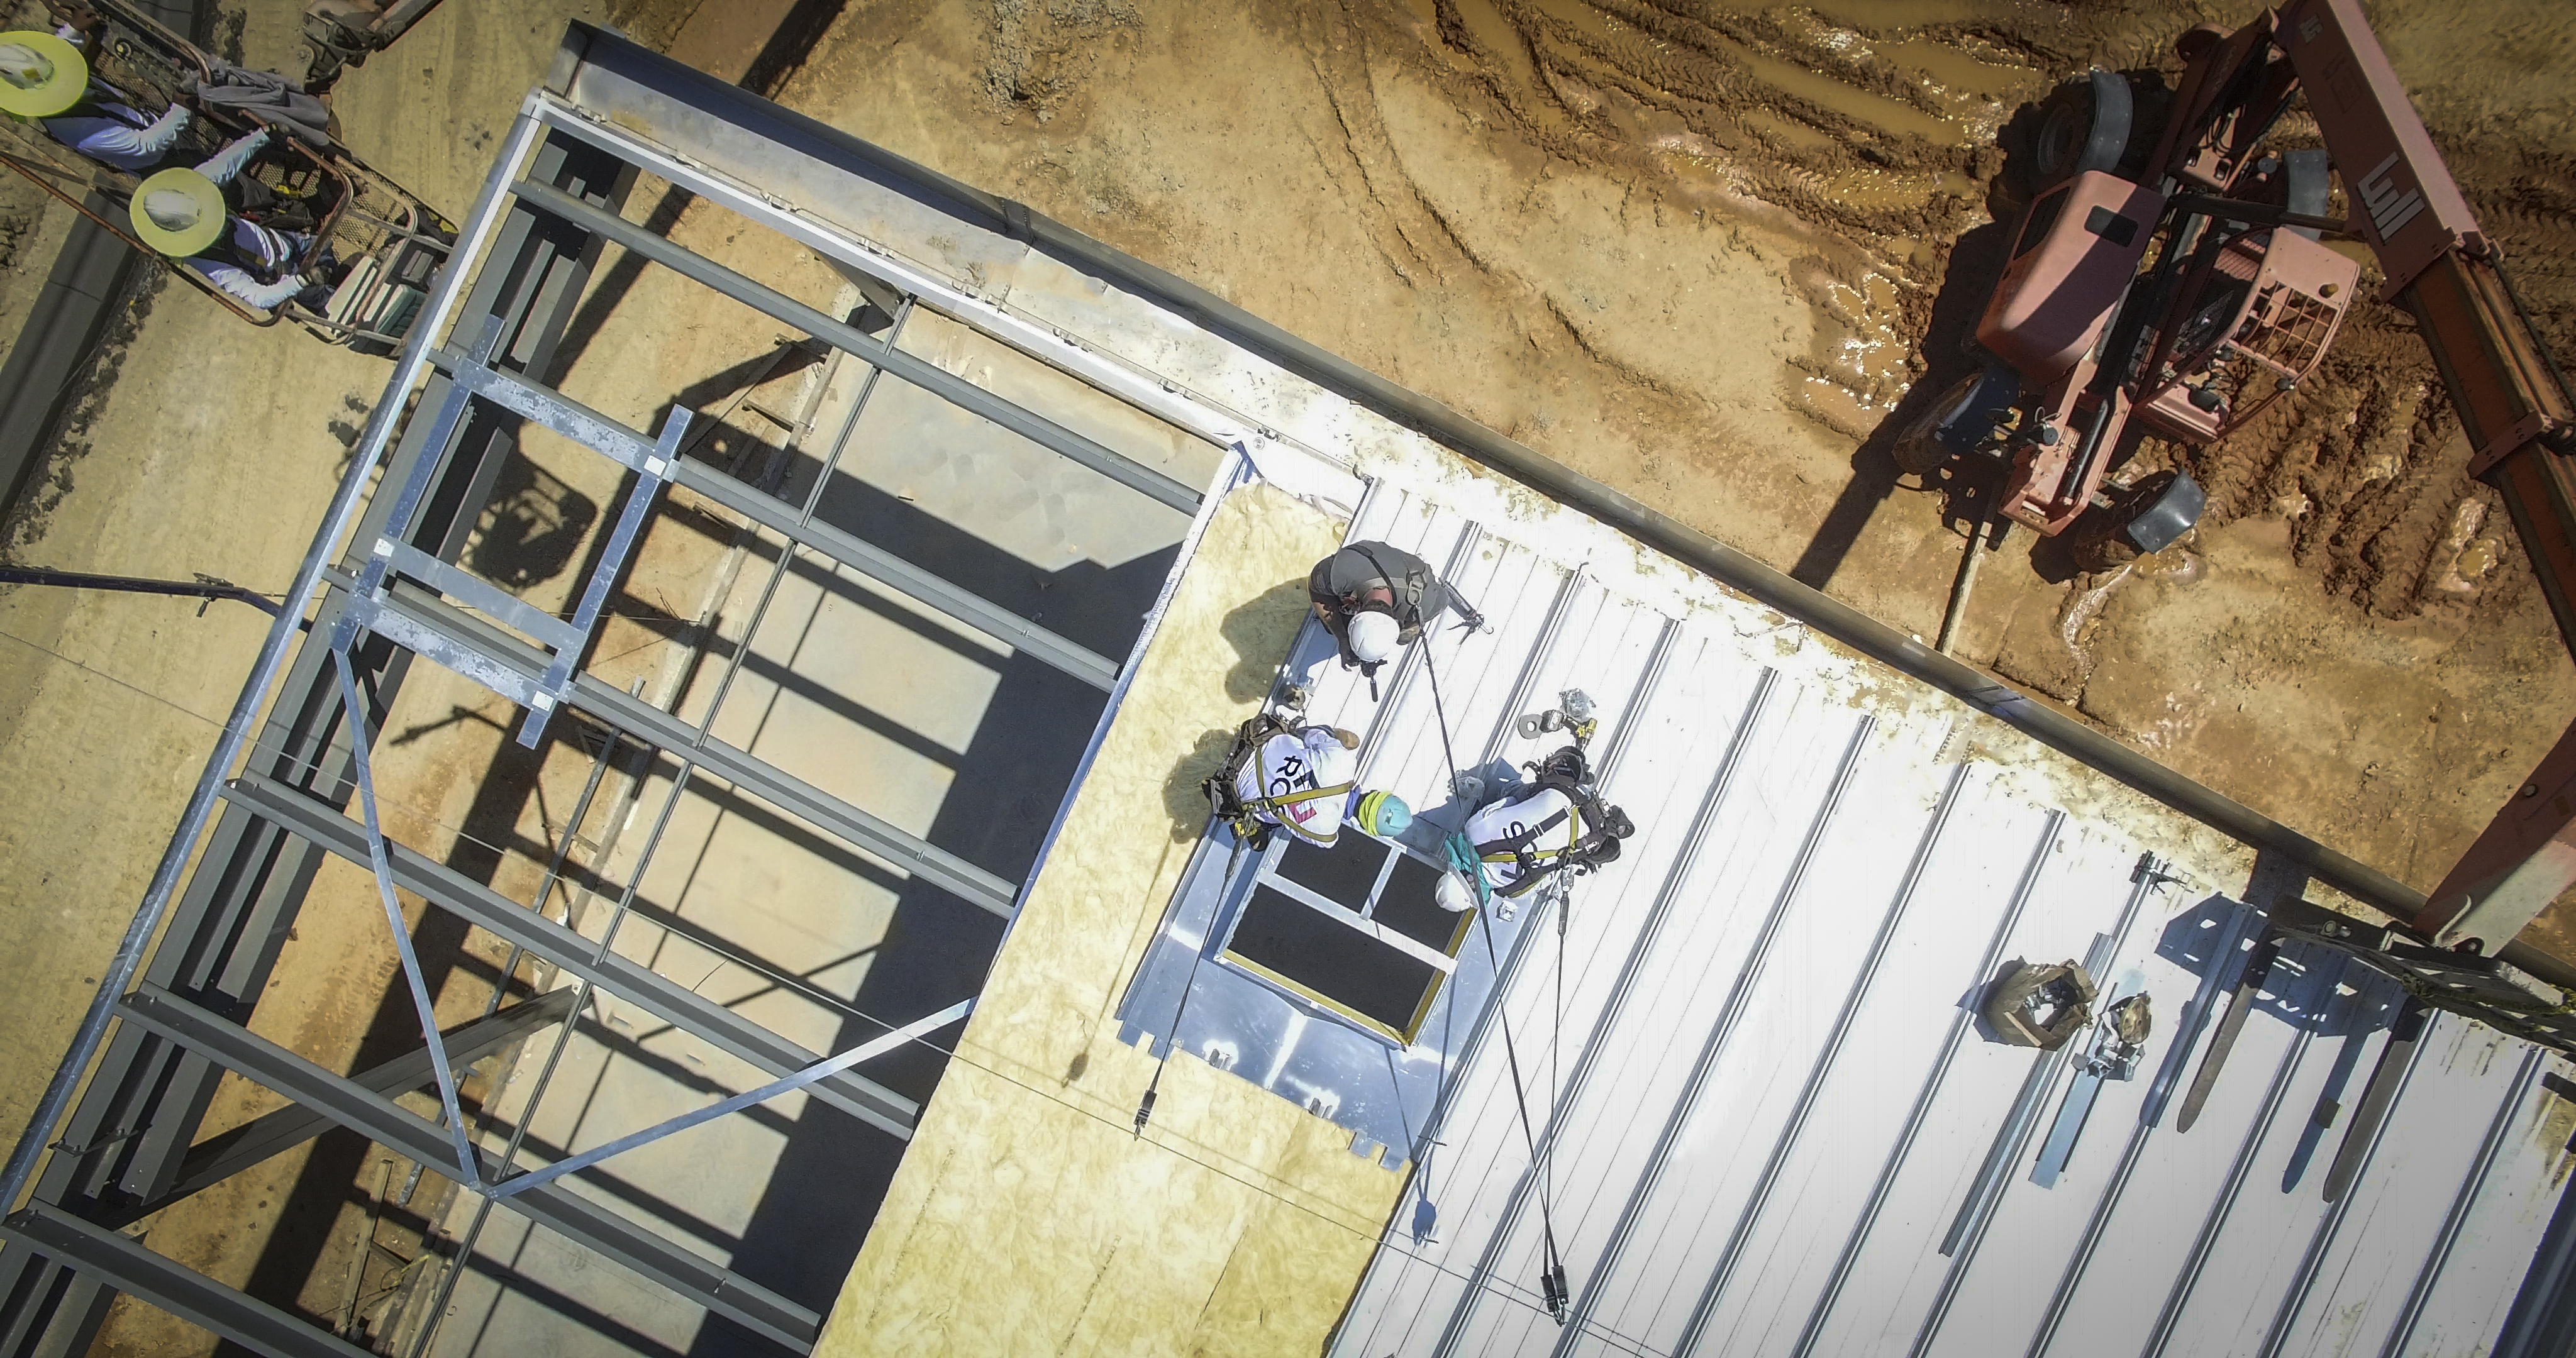
Overhead view of roof curb installation. (Photo courtesy of RCS–Roof Curb Systems)
- RCS–Roof Curb Systems: https://www.roofcurb.com/
- KCC Manufacturing: http://www.kccmfg.com
- Design Components Inc: http://www.designcomponents.com
- Design Components Inc.: http://www.designcomponents.com
- KCC Manufacturing: http://www.kccmfg.com/
- Kalkreuth Roofing and Sheet Metal Inc.: https://www.krsm.net/
Source URL: https://www.metalconstructionnews.com/articles/correct-roof-curb-installation/