Installing Flashing on Roof Edges
by Mark Robins | 2 May 2022 12:00 am
Correctly installed roof flashing directs water away from buildings and prevents ice dams
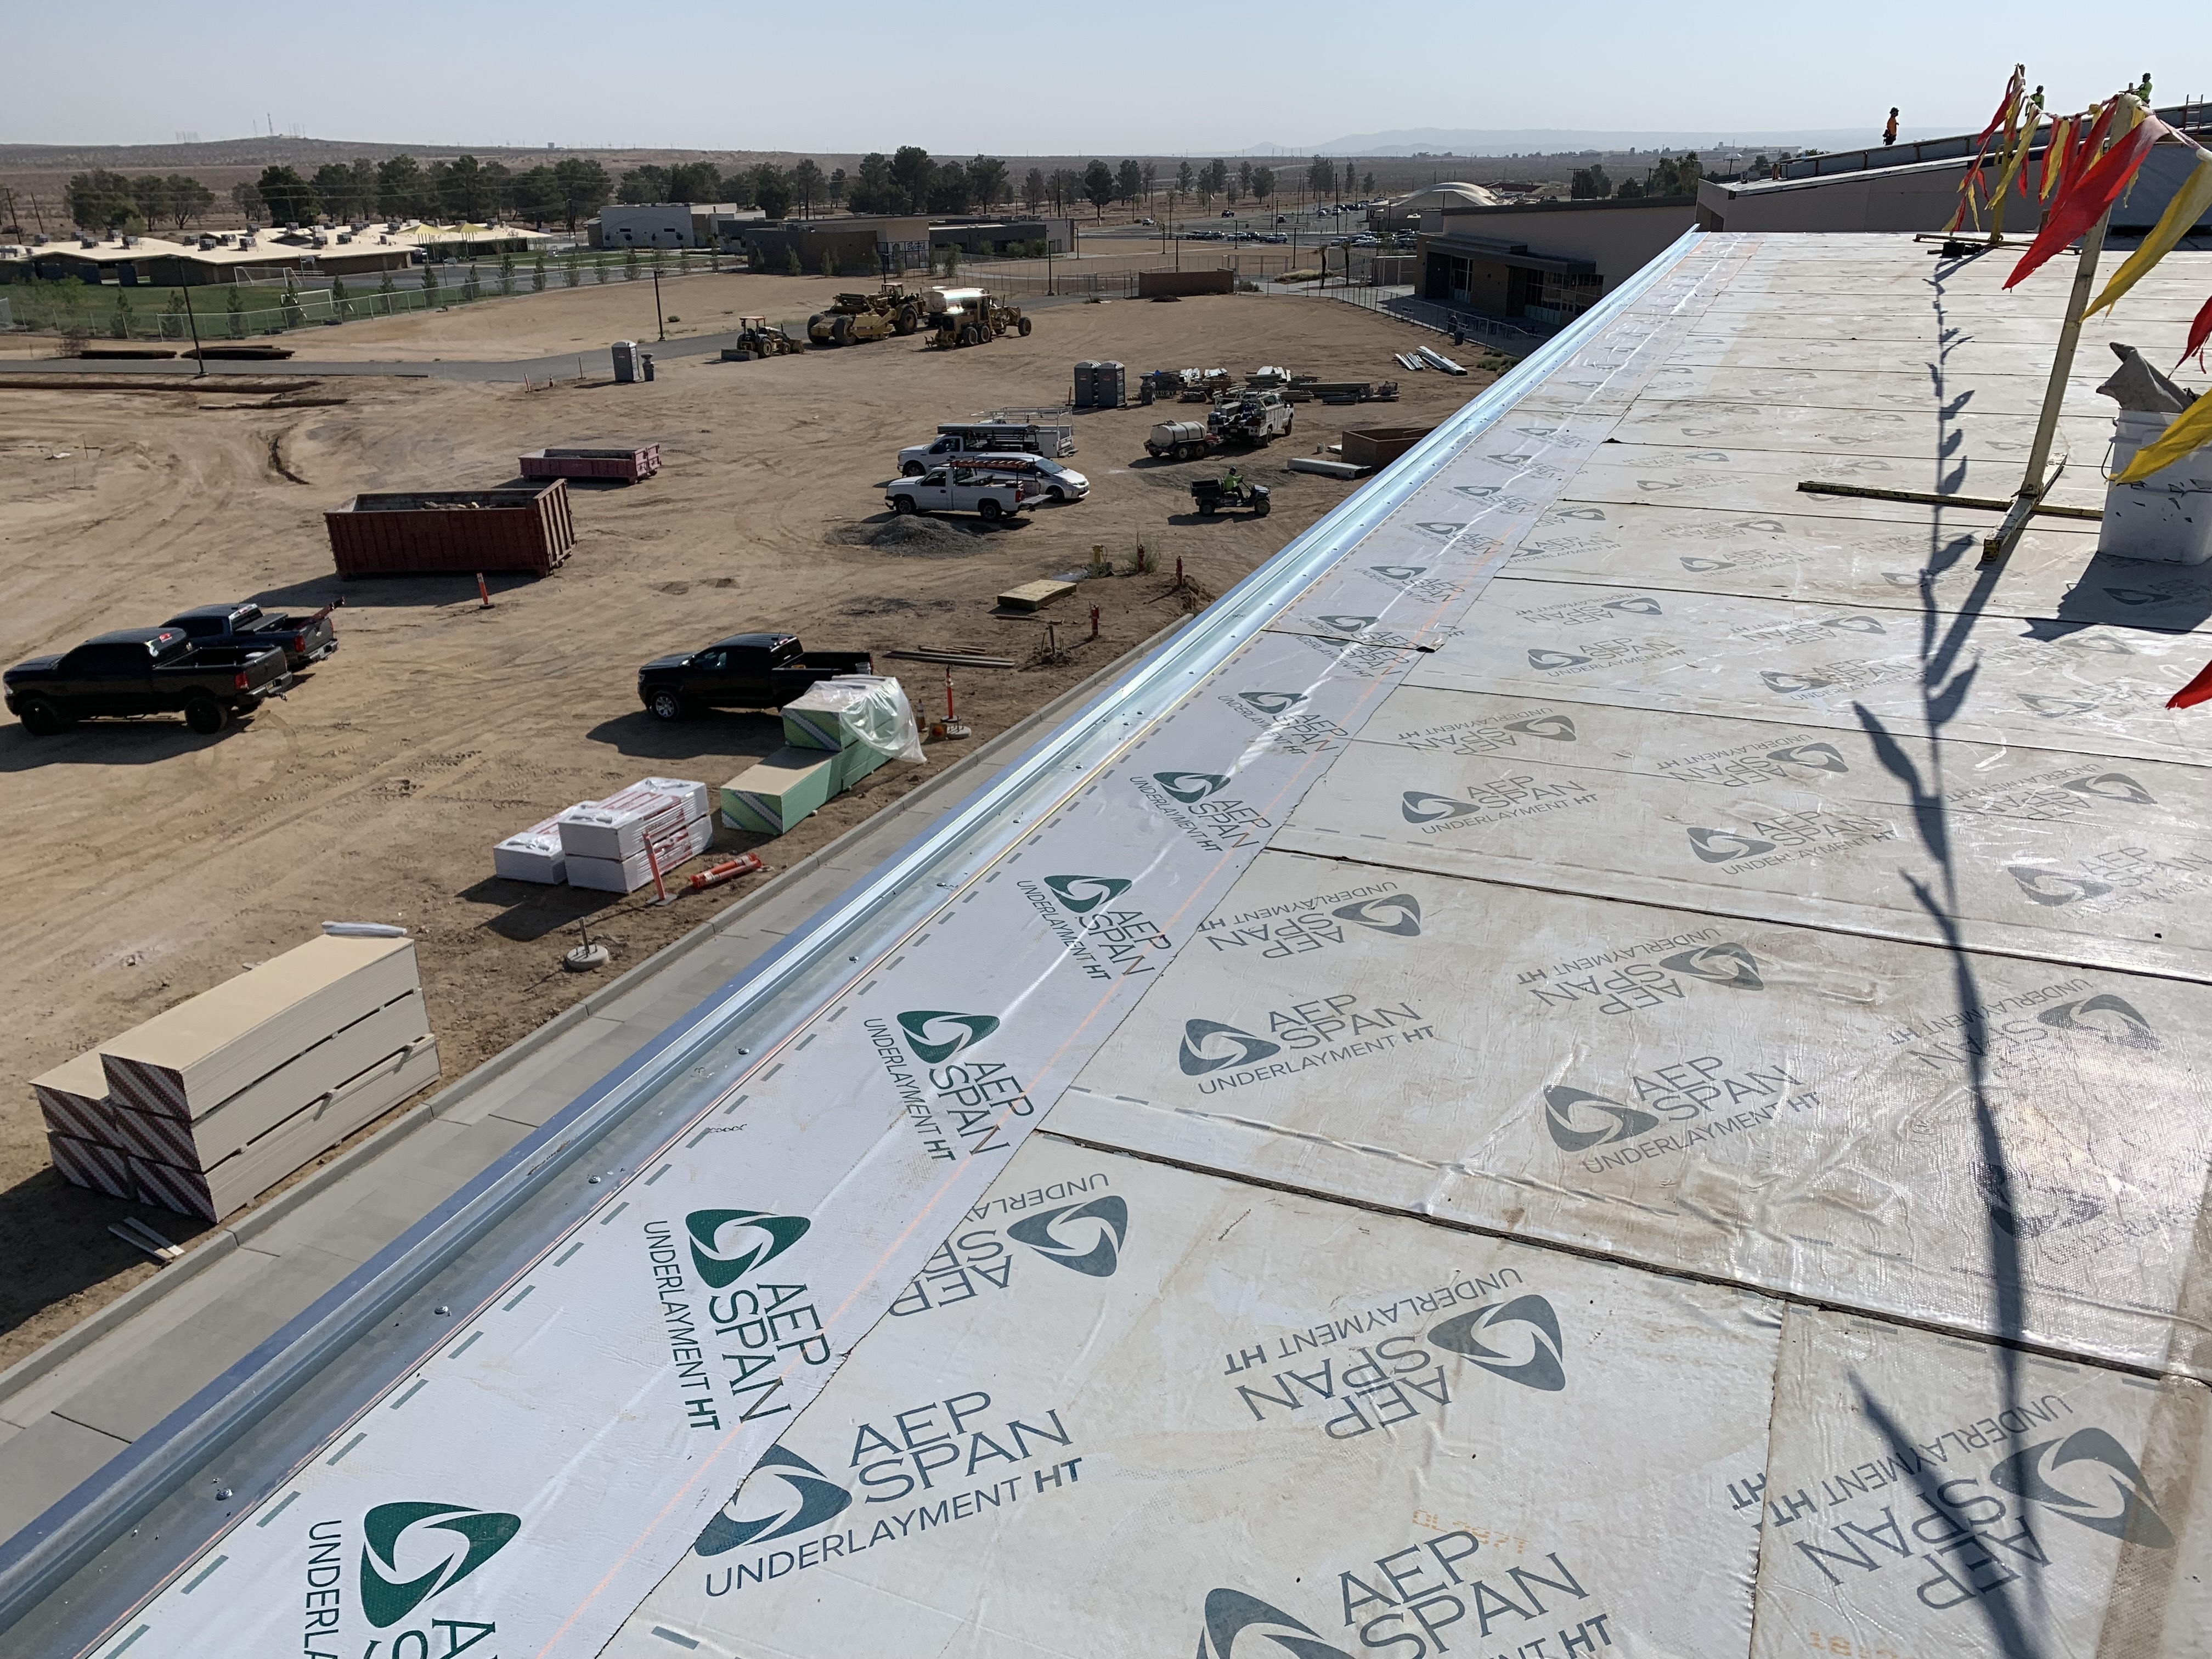
Without flashing at roof edges, water can get behind gutters and cause damage. (Photo courtesy of AEP Span/ASC Profiles)
It is especially important at roof edges. Drip edge flashing, usually shaped like an “L,” is installed on a roof’s perimeter. It holds the underlayment down and creates a watertight seal around the roof edge. Directing water away from the fascia via a small metal flange, this flange wicks water back to make a drip around the flange and into the gutter. Without drip edge flashing, water can get behind gutters and rot out the fascia board and roof decking and sometimes even enter and damage the structure. To provide flashing’s water infiltration line of defense at roof edges, it must be installed correctly.
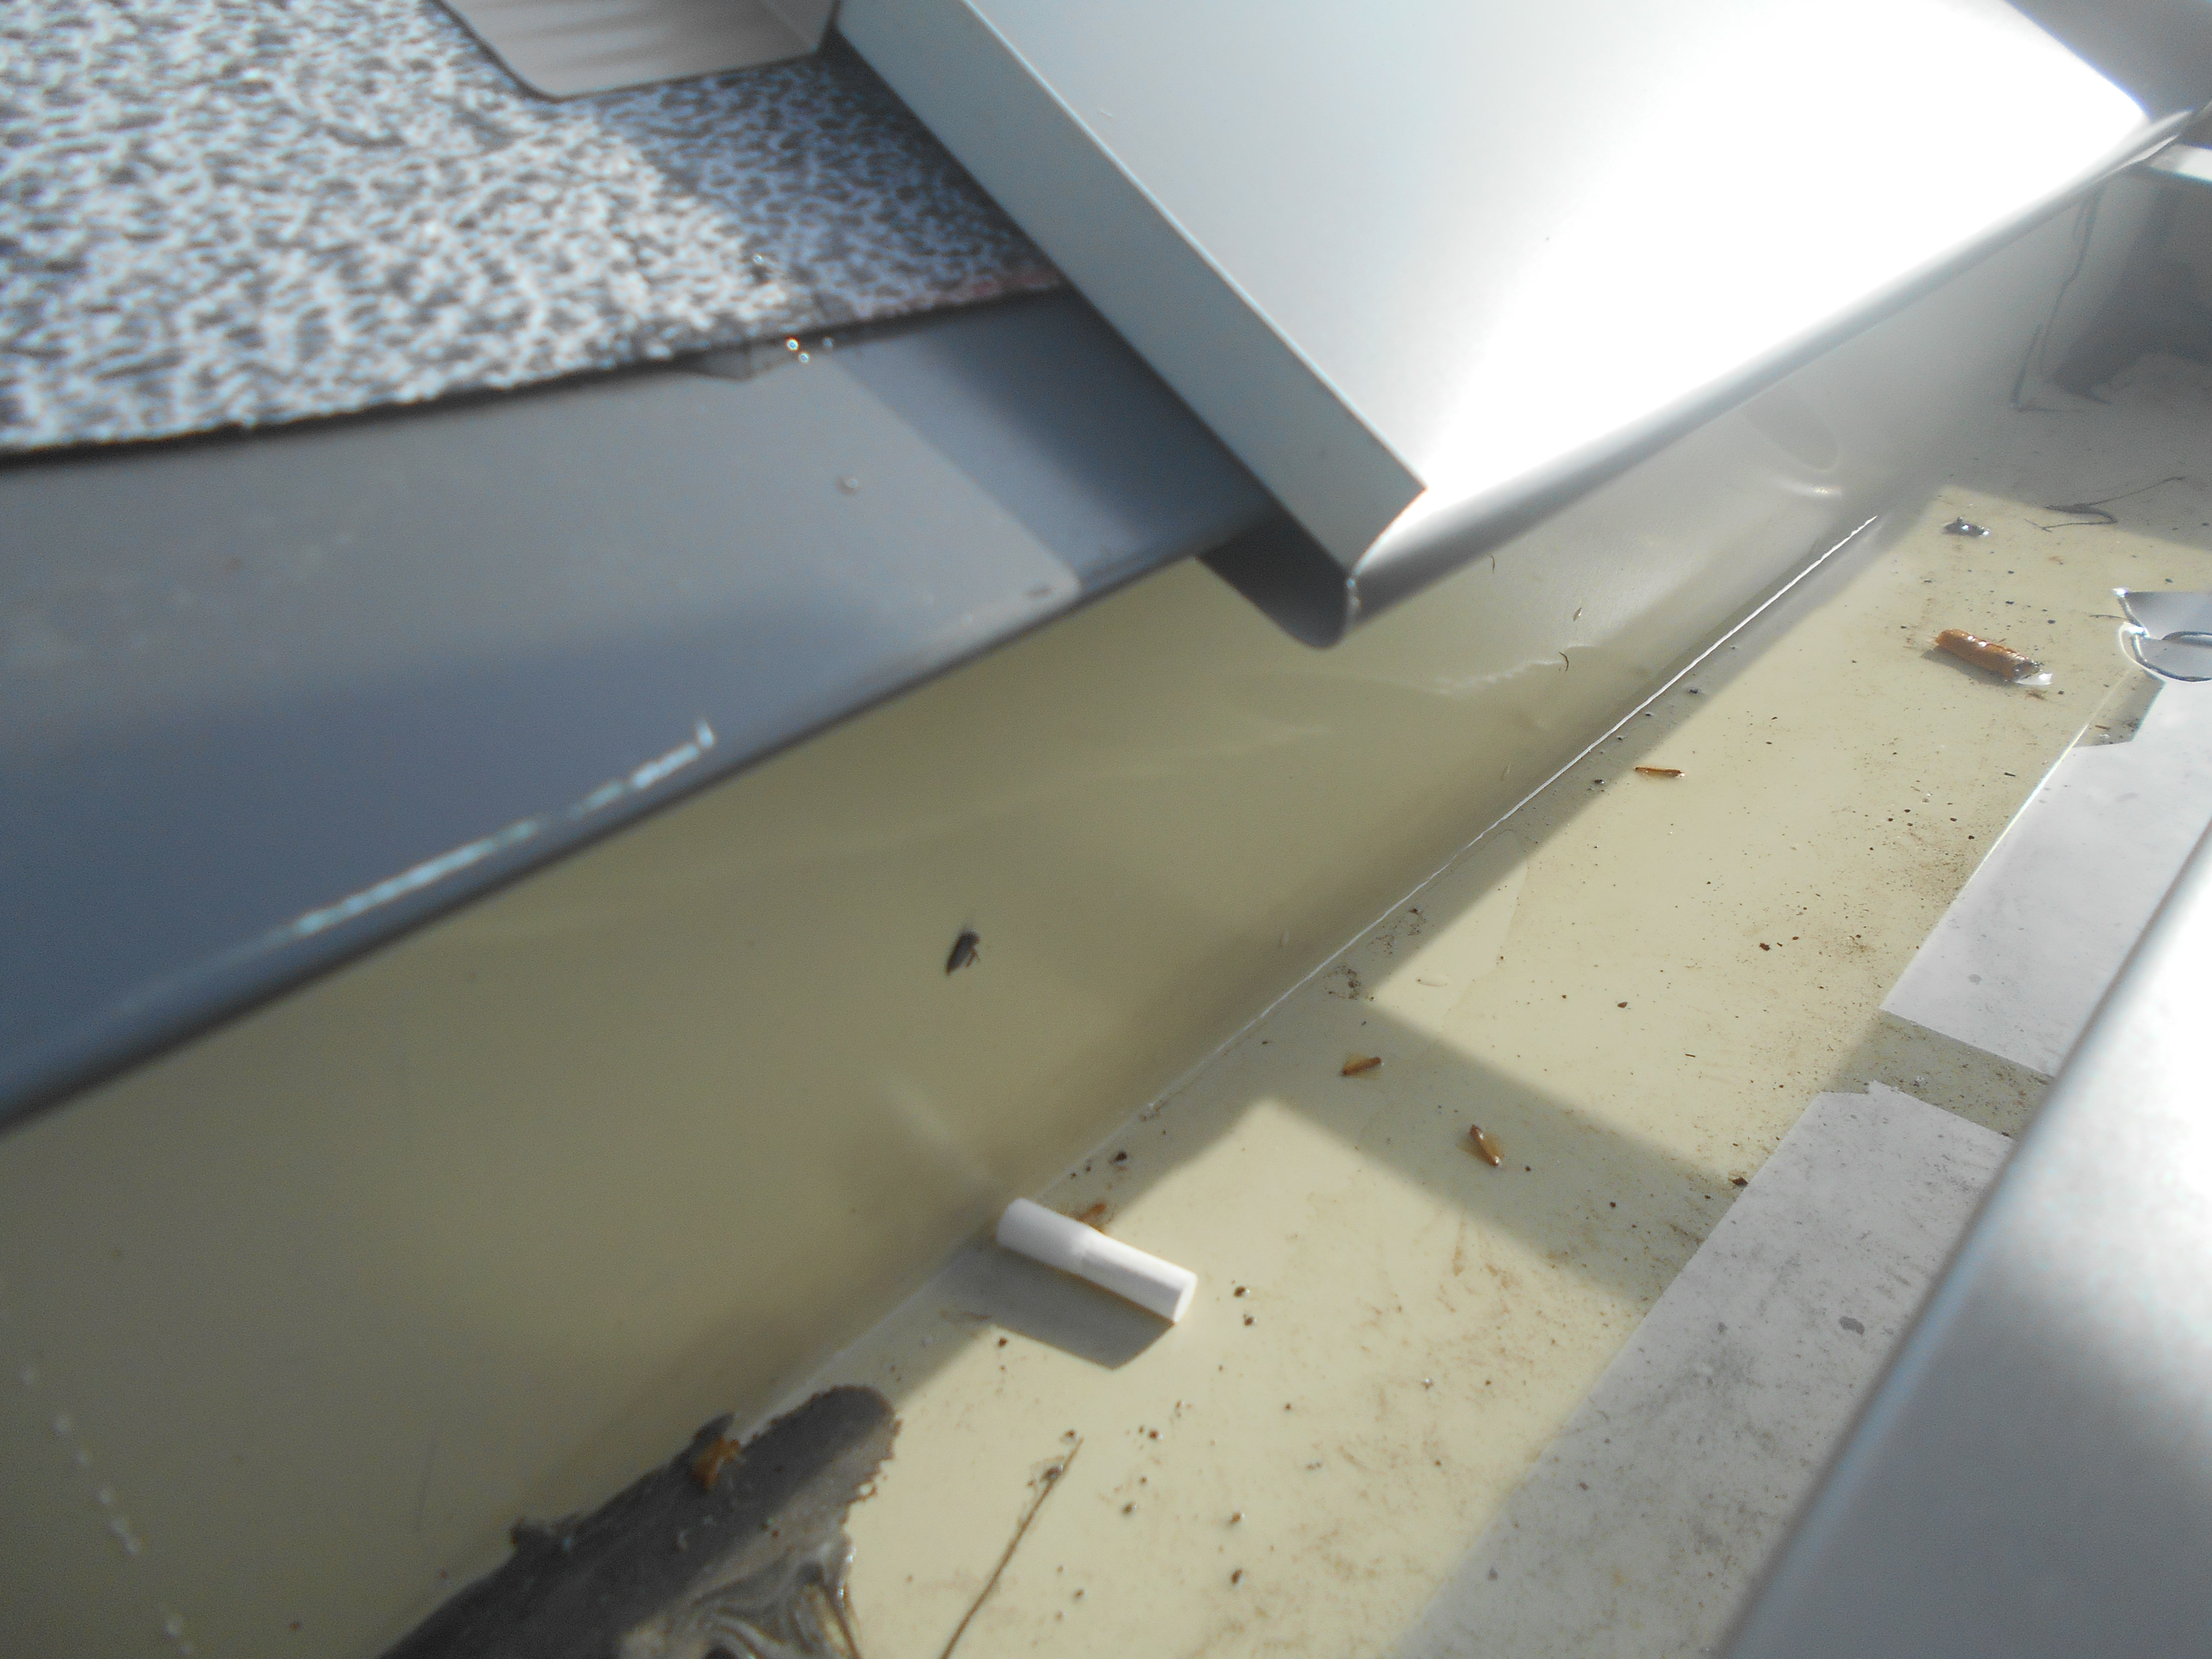
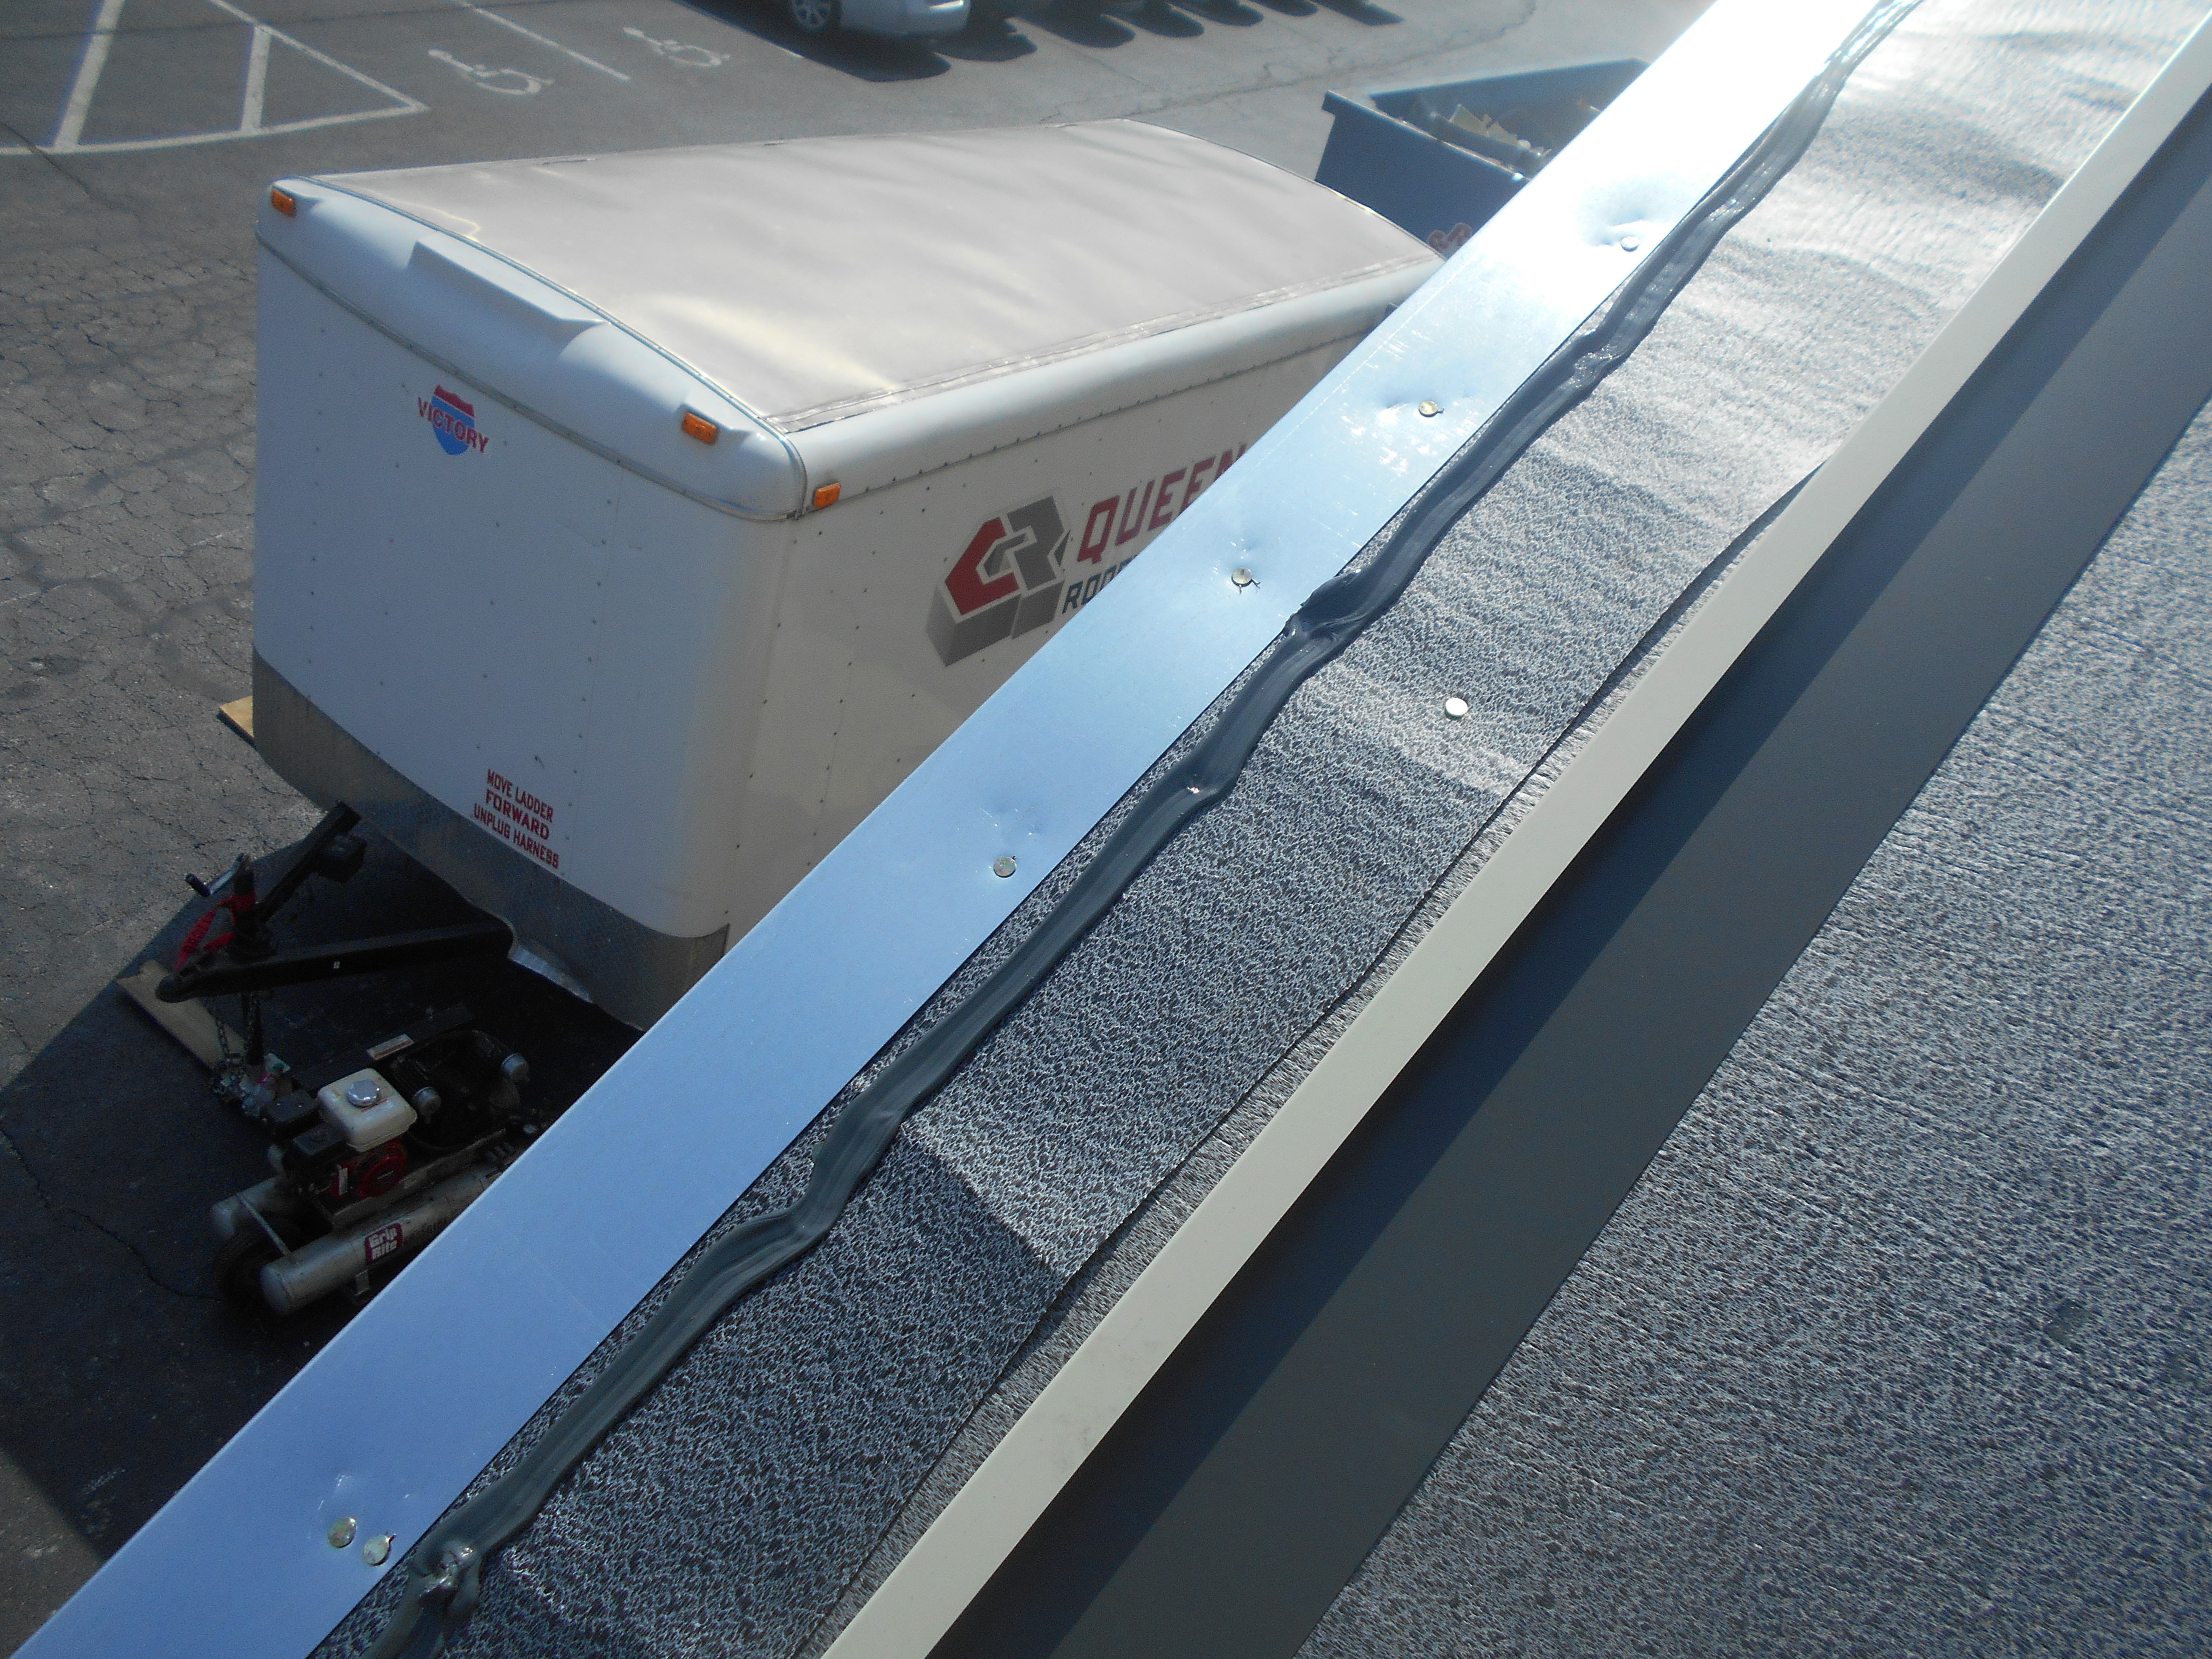
Correctly installed flashing on the roof edge of this bank and trust in Springfield, Mo., will prevent water intrusion. (Above photos courtesy of Queen City Roofing)
Flashing Types
Is there a flashing requirement for metal roof edges? Andrea Ritter, digital marketing and communications marketing manager at Quality Edge[1], Walker, Mich., explains it is important to be in compliance with local building code requirements. She cites the following building code requirement for drip edge flashing: “507.2.8.3, R905.2.8.5 Drip edge. A drip edge shall be provided at eaves and rake edges of shingle roofs. Adjacent segments of the drip edge shall be lapped not less than 2 inches. The vertical leg of drip edges shall not be less than 1 1 ⁄2 inches in width … and shall extend back on the roof not less than 2 inches. (Source: IBC and IRC 2018.)”
As Ritter explains, “Corrosion-resistant metal flashing in galvanized steel is the ideal flashing since it offers long-lasting performance and can withstand structural movements as the result of settling, expansion and contraction. Many drip edge profiles are offered pre-notched, hemmed and in 10- and 12-inch lengths. Pre-bent and notched drip edge not only save crews time spent cutting edge overlaps and bending flashings but also reduce the need to train new labor.”

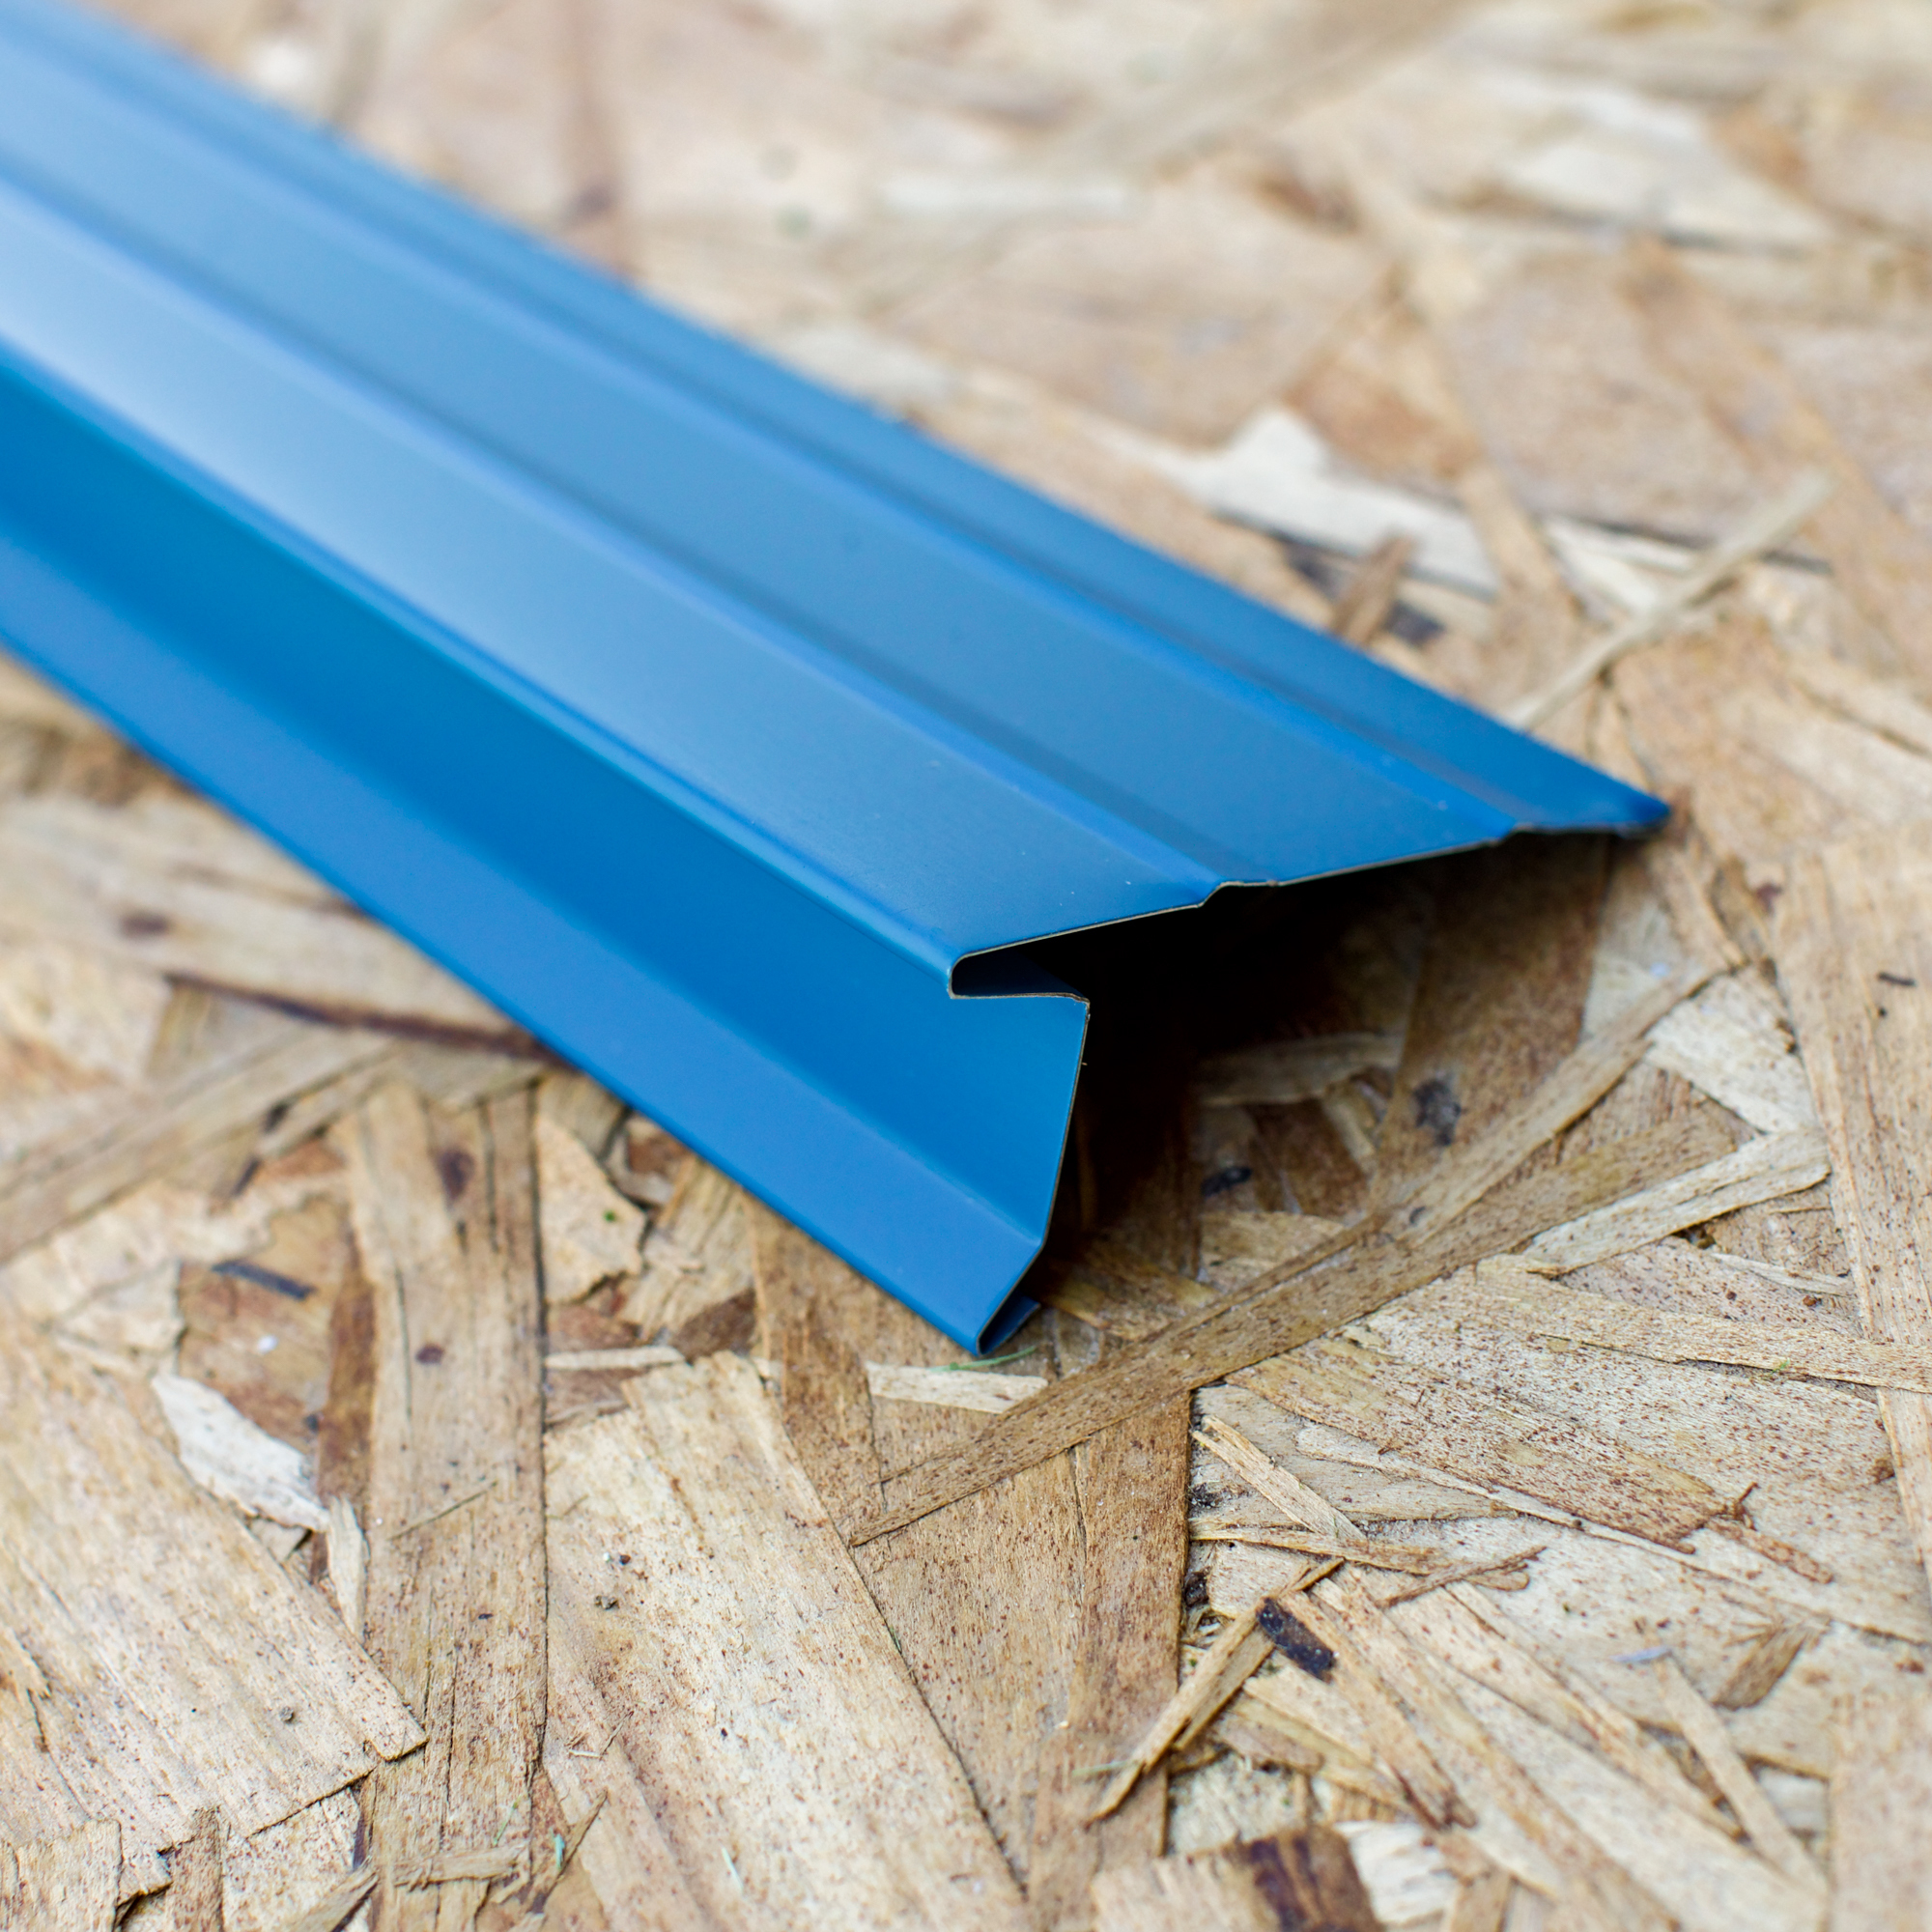
Drip edge flashing. (Above photos courtesy of Quality Edge)
Maciek Rupar, technical services director at the National Roofing Contractors Association[2], believes there’s no one-size-fits-all metal roof edge flashing. “Edge flashings are application specific. A separate rake flashing may be used with a starter panel or an end panel or the rake edge panel may be hooked to T-type drip edge. Edge flashings and flashing fasteners should be of a metal compatible with the metal panels. Edge flashings used to attach metal roof panels should be equal- or heavier-gauge metal than the roof panels to achieve proper panel securement.”
Flashing Procedures
What steps need be taken to correctly install roof edge flashing? “We believe there are several key considerations including proper underlayments, sealants, proper water laps, proper lap size and fastener type,” says Steve Arnold, vice president, Queen City Roofing & Sheet Metal[3], Springfield, Mo. “All these items can differ per project depending on the type of metal roof system, local code requirements and different manufacturer requirements.”
How metal roof panels intersect with the flashings is very important. “This may include a slip-in feature or an interlocking feature,” says Todd Miller, president, Isaiah Industries Inc.[4], Piqua, Ohio. “Special bending of the roof panels edges and ends may require a hemming or folding tool. It is important to take care and not bend the roof metal in a tighter radius than is specified by the manufacturer. Tighter radiuses may fracture the paint or the metal, leading to eventual edge failure.”
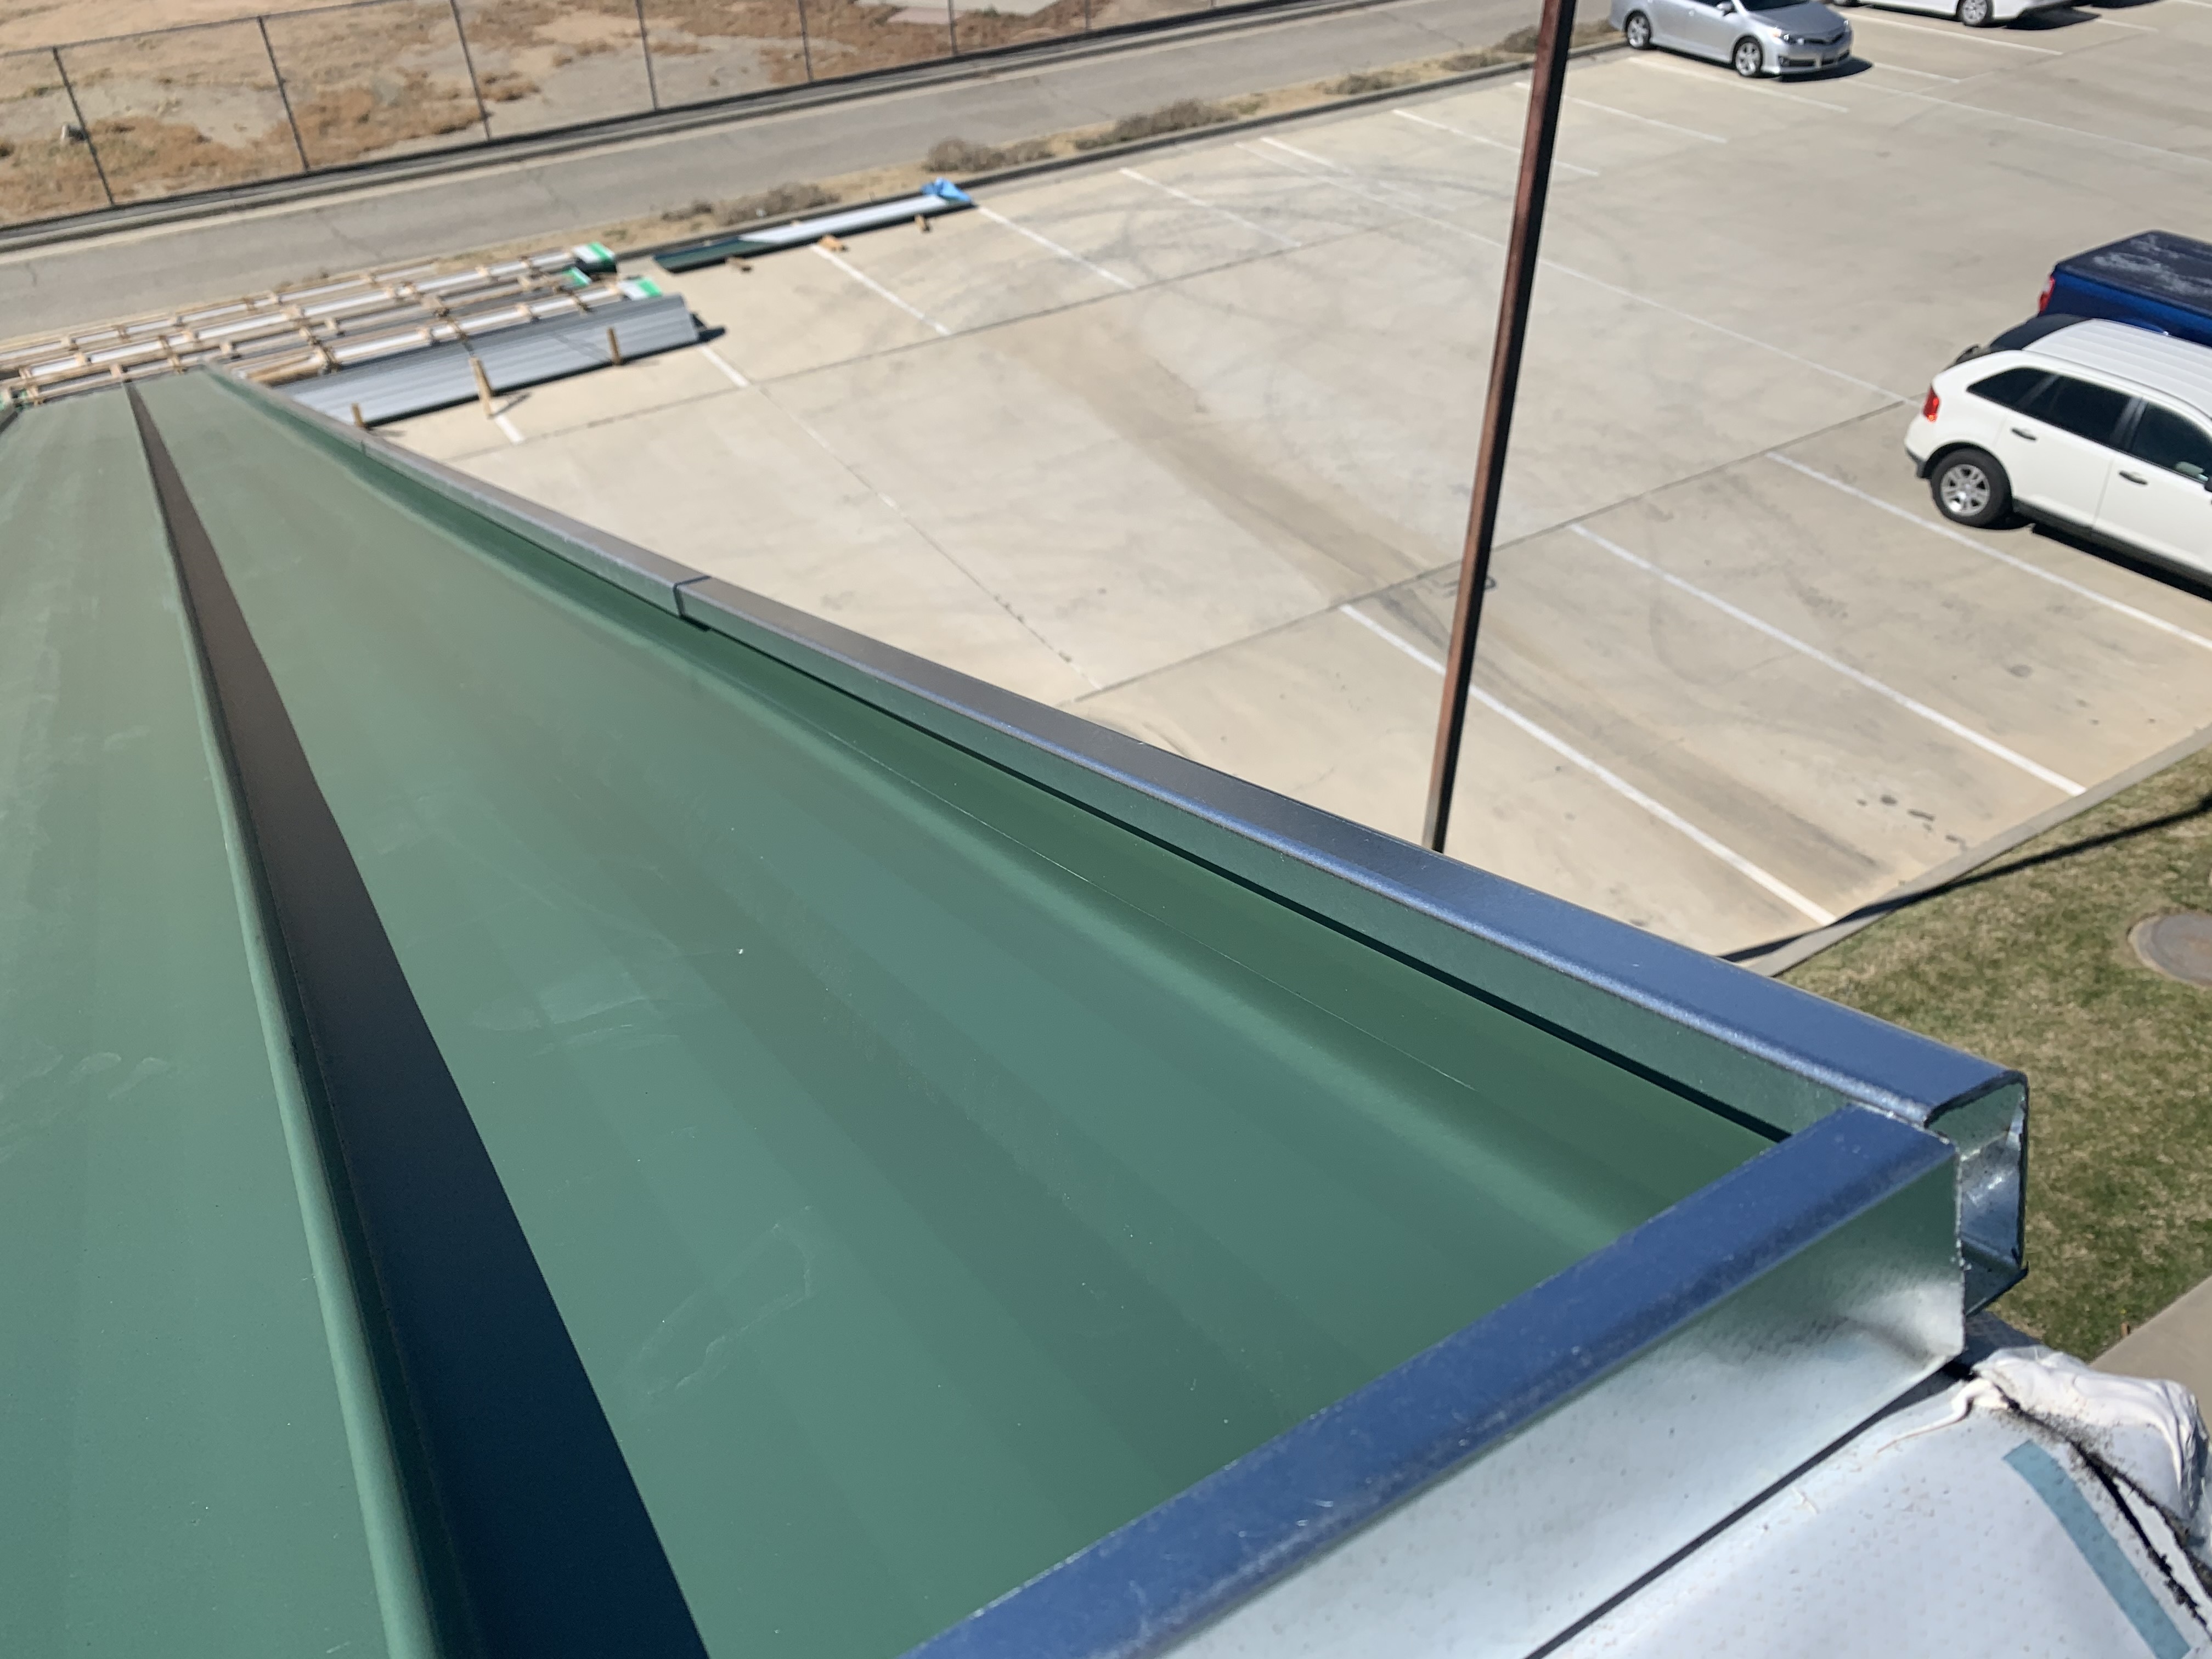
(Photo courtesy of AEP Span/ASC Profiles)
Ritter cites the following procedures. “Drip edge, also referred to as eave trim, should extend back from the roof edges to provide a proper surface for water runoff. Nail the drip edge in the middle and one on each end of a 10-foot piece—approximately every 5 feet—as over nailing can cause buckling. On rakes, install drip edge on top of the underlayment to stop wind-driven rain from getting underneath. On eaves, install drip edge below the underlayment so the water will shed efficiently off the roof if it gets under the shingles. Make sure the drip edge flashing is long enough to reach the gutter. If the gutters have been installed too low, raise and correct them.
Make sure there is at least 2 inches of drip edge available to overlap the drip edge or wrap around the corners—more if your local building code requires it. You should never butt two flashing seams up against each other. Rain is going to run down and wick back between any space where these two sections meet.”
Jeff Haddock, technical services manager at AEP Span/ASC Profiles[5], Sacramento, Calif., explains that no special tools are needed to properly install roof edge flashing. “Typical roofing tools such as shears, hemming tools and electric drill guns with torque-limiting clutches [are used].”
Haddock does caution; however, that roof edges have high wind-load pressure. “Ensuring that metal panels are properly secured to the edge metal to prevent wind uplift from tearing the roof apart at the edges is critical. Also, with regards to standing seam roof application, allowing for thermal movement—expansion and contraction—along the roof edges while also securing the panels to the substrate is critical for a properly performing roof system.” Rupar explains to accommodate expected thermal movement, in roofing applications where panels hook over a formed flashing edge—T-type drip edge—the flashing and panel hem must be properly sized.

Drip edge flashing installation on an eave. (Photo courtesy of Quality Edge)
Ice Dams
If the drip edge flashing is not positioned correctly it can cause gutters to overflow or cause ice damming in the winter. “Properly installed edge systems are critical to combat ice dams,” Arnold says. “It starts with the proper underlayments, then metal trim installation, then the key is stripping the metal trim into the underlayment.”
“Ice dams can create havoc for many roof conditions, not just roof edges,” Haddock says. “If ice dams are allowed to interact with a roof edge without proper snow retention or melt systems, serious damage can occur from drifting or migrating ice dams. The forces of an ice dam can tear flashings apart resulting in roof failure.”
Rupar explains the design and installation of edge flashings should address weathertightness at the eaves and drag loads due to snow and ice. “Where a T-type edge-metal flashing is used at the eave, the lower ends of roof panels and valley flashings are folded under and hooked to the T-shaped edge metal. Two or three pieces of metal meet at this location and because the connection is not sealed to allow for thermal movement, it is difficult to keep it weathertight. Self-adhering underlayment compliant with ASTM D1970 specification should be installed along the eave and under the valley flashing as protection against damage from ice and water entering at this location.”
Arnold stresses the biggest keys for successful metal roof edge flashings are to, “Use the proper quality materials and follow the installation details to the T, paying especially close attention to the fastener spacing and type, sealant type and overlap requirements.”
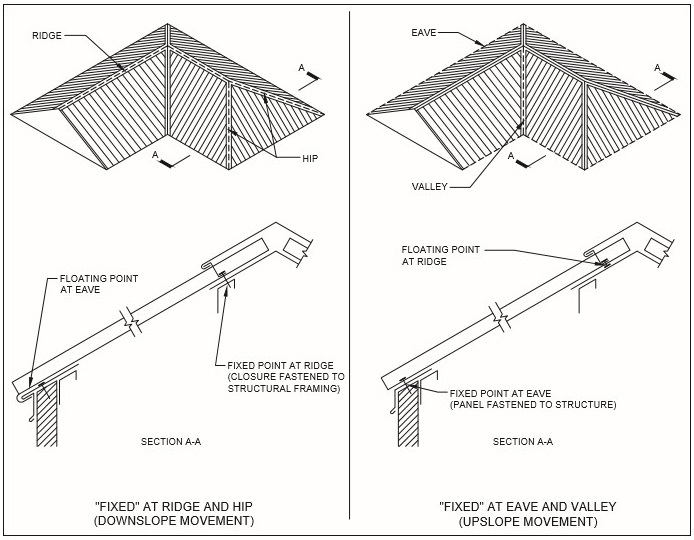
(Image courtesy of National Roofing Contractors Association)

(Image courtesy of National Roofing Contractors Association)
- Quality Edge: http://www.QualityEdge.com
- National Roofing Contractors Association: https://www.nrca.net
- Queen City Roofing & Sheet Metal: http://www.qcroofing.com
- Isaiah Industries Inc.: http://www.isaiahindustries.com
- AEP Span/ASC Profiles: https://www.ascprofiles.com/about-us/aep-span/
Source URL: https://www.metalconstructionnews.com/articles/installing-flashing-on-roof-edges/
