In any building structure, one of the areas most prone to potential leaks is around window openings. These potential leak points are often the result of installing the waterproofing materials incorrectly or by not using any preventative products at all. This article will focus on the proper flashing techniques used when installing flanged windows on the job site.
Keep moisture, water, air, noise and insects from infiltrating the building structure

Window flashing tapes have come a long way from their origin as mechanically attached, siliconized paper membranes used in the 1970s. Today, these membranes have evolved into self-adhering, or self-stick, products, which offer many benefits to the installer and building owner.
The configurations or compositions of window flashing membranes are very diverse. Regardless of the top film surface, adhesive system used (SBS, butyl or acrylic) or other product features, the installation technique is basically the same.
AAMA 711 Compliant Products
A good idea for any installer is to ensure the products he/she is using comply with AAMA 711 specifications. AAMA 711 is a voluntary specification outlined by the American Architectural Manufacturers Association (AAMA) to establish the test methods and minimum performance requirements for self-adhering flashing products used in the installation of exterior fenestration products. AAMA adopted the guidelines specified
by the International Code Council’s ICC-ES AC148 as the parameters of whether a flashing product is in compliance with AAMA 711.
In layman’s terms, the building industry needed to set some guidelines on what is expected of the window flashing tapes used to waterproof around windows. Does it leak? Will it stick? How strong is it? Can you drive a nail through it with no damaging effects? These are the types of performance characteristics that are outlined in ICC-ES AC148.
Window flashing tapes that comply with AAMA 711 ensure they will perform to the standards established by the building industry. When properly installed, these window flashing tapes will keep moisture, water, air, noise and insects from infiltrating into the building structure. No infiltration equals no water damage, no premature rot, no mold and no headaches down the road. So, if you are an architect, a builder or the building owner, opting for a window flashing tape that complies with AAMA 711 is a move that will pay off in the future.
Recommended Guidelines for Installation
As stated before, there are many types of window flashing tapes on the market, so these are general installation guidelines to ensure a proper installation with a flanged window assembly.
1. As an installer, you need to be sure that the product you are installing meets the project’s required membrane thickness, minimum installation temperature and expected UV exposure time.
2. The installer is also responsible to ensure the product’s adhesive system is compatible with any primers, sealants or caulking that may also be used during installation of the windows.
3. Most structures today utilize a building wrap to cover the sidewalls. Start by cutting an X-pattern in the building wrap to reveal the rough window opening. Cut the building wrap flush across the sill. Wrap both jamb sections into the rough window opening and attach using staples. At the header section, cut two 45-degree cuts and fold the building wrap upward to reveal the substrate. Hold in place with tape or staples.
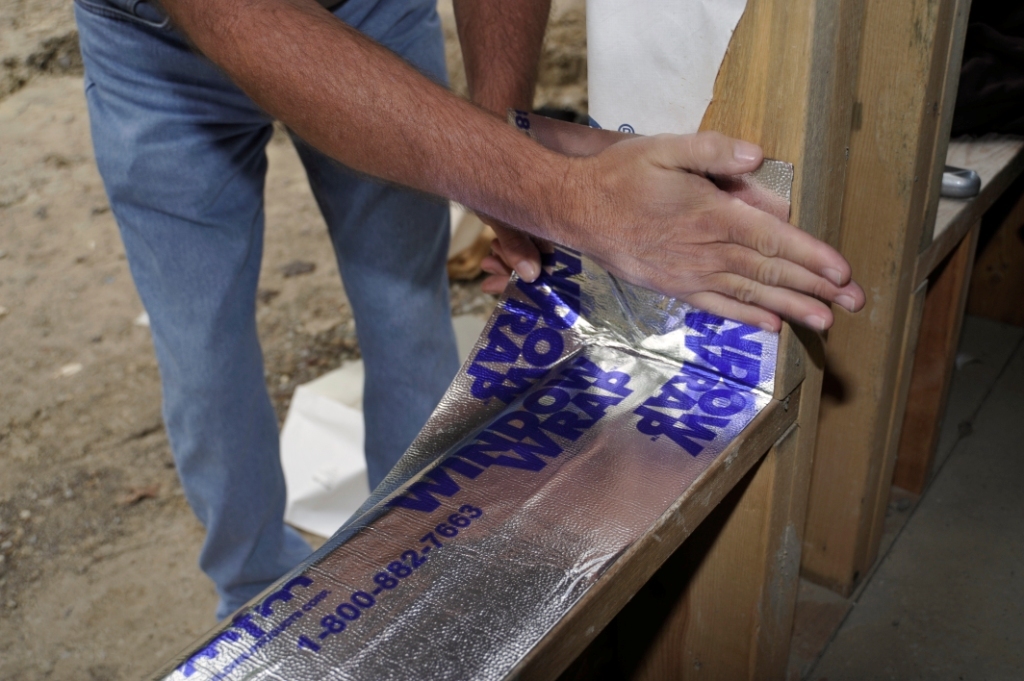
4. Start the flashing installation at the sill before the window is installed. The flashing membrane should completely cover the sill and fold out onto the shear wall. This membrane should also extend up each jam by approximately 4 to 6 inches. By flashing the sill first, any moisture that may enter the window cavity can “weep” to the outside.
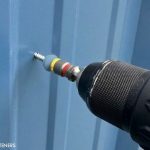
5. Install the window per the manufacturer’s instructions.
6. Flash each jamb section, making sure the membrane extends above and below the window by approximately 4 to 6 inches.
7. At the header, flash across the header flange, making sure that the membrane is installed directly to the wall substrate. The membrane should also cover the tops of each jamb section.
8. Once completed, fold the building wrap back over the membrane, secure with staples and cover the 45-degree cuts with extra pieces of window tape. 9. Roll the entire membrane firmly with a hand roller to ensure maximum contact of the membrane to the surface, as well as to remove any air pockets or excessive wrinkles in the membrane.
The two most important aspects are to install the sill flashing prior to the installation of the window and, secondly, not to wrap the building wrap into the header section of the window opening.
Always read the manufacturer’s instructions and understand them thoroughly prior to heading to the job site. Following these general guidelines will greatly enhance the flashing membrane’s performance in preventing the infiltration of water, air and moisture into the building structure.
David Delcoma is the product marketing manager at MFM Building Products Corp., Coshocton, Ohio. For more information, email ddelcoma@mfmbp.com, call (800) 882-7663 or visit www.mfmbp.com.