As today’s building structures change their exterior facades, one of a number of growing trends is exterior metal wall panel systems and metal-capped parapet wall details. As with metal roofing systems, the builder must be concerned with the high amount of heat that is generated under metal roofing. The same rule applies when cladding the structure or parapet wall with metal panels. The extreme heat buildup under these panels and its effect on the underlying materials must be taken into consideration.
Tips for a successful vertical underlayment installation
In general, self-adhered underlayments must be high-temperature rated for use under these roof and sidewall systems. The enormous heat generated under these metal panels can cause a breakdown of the membrane’s top surface and/or cause the adhesive system to bleed out. As a result, the waterproofing properties can be compromised, which may lead to air, moisture or water to infiltrate into the building structure.
Successful Vertical Installation
For roofing applications, a self-adhered underlayment must meet ASTM D1970. This standard has a minimum thickness of 40 mils, which means the membrane is heavier and will need to be secured in place.
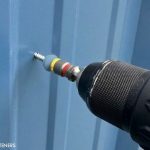
Depending on the building structure, a self-adhered underlayment may be installed in either a horizontal or vertical fashion. Both methods require that the membrane be secured in place. In a horizontal application, start at the bottom and back nail using button caps every 12 inches on-center (OC) along the top edge of the material. The next course should have a minimum 3-inch side lap, which will cover the button caps. End laps require a minimum 6-inch overlap. Continue working up the structure, repeating the same step, until you reach the top. As added protection, a termination bar can be installed for the top course.
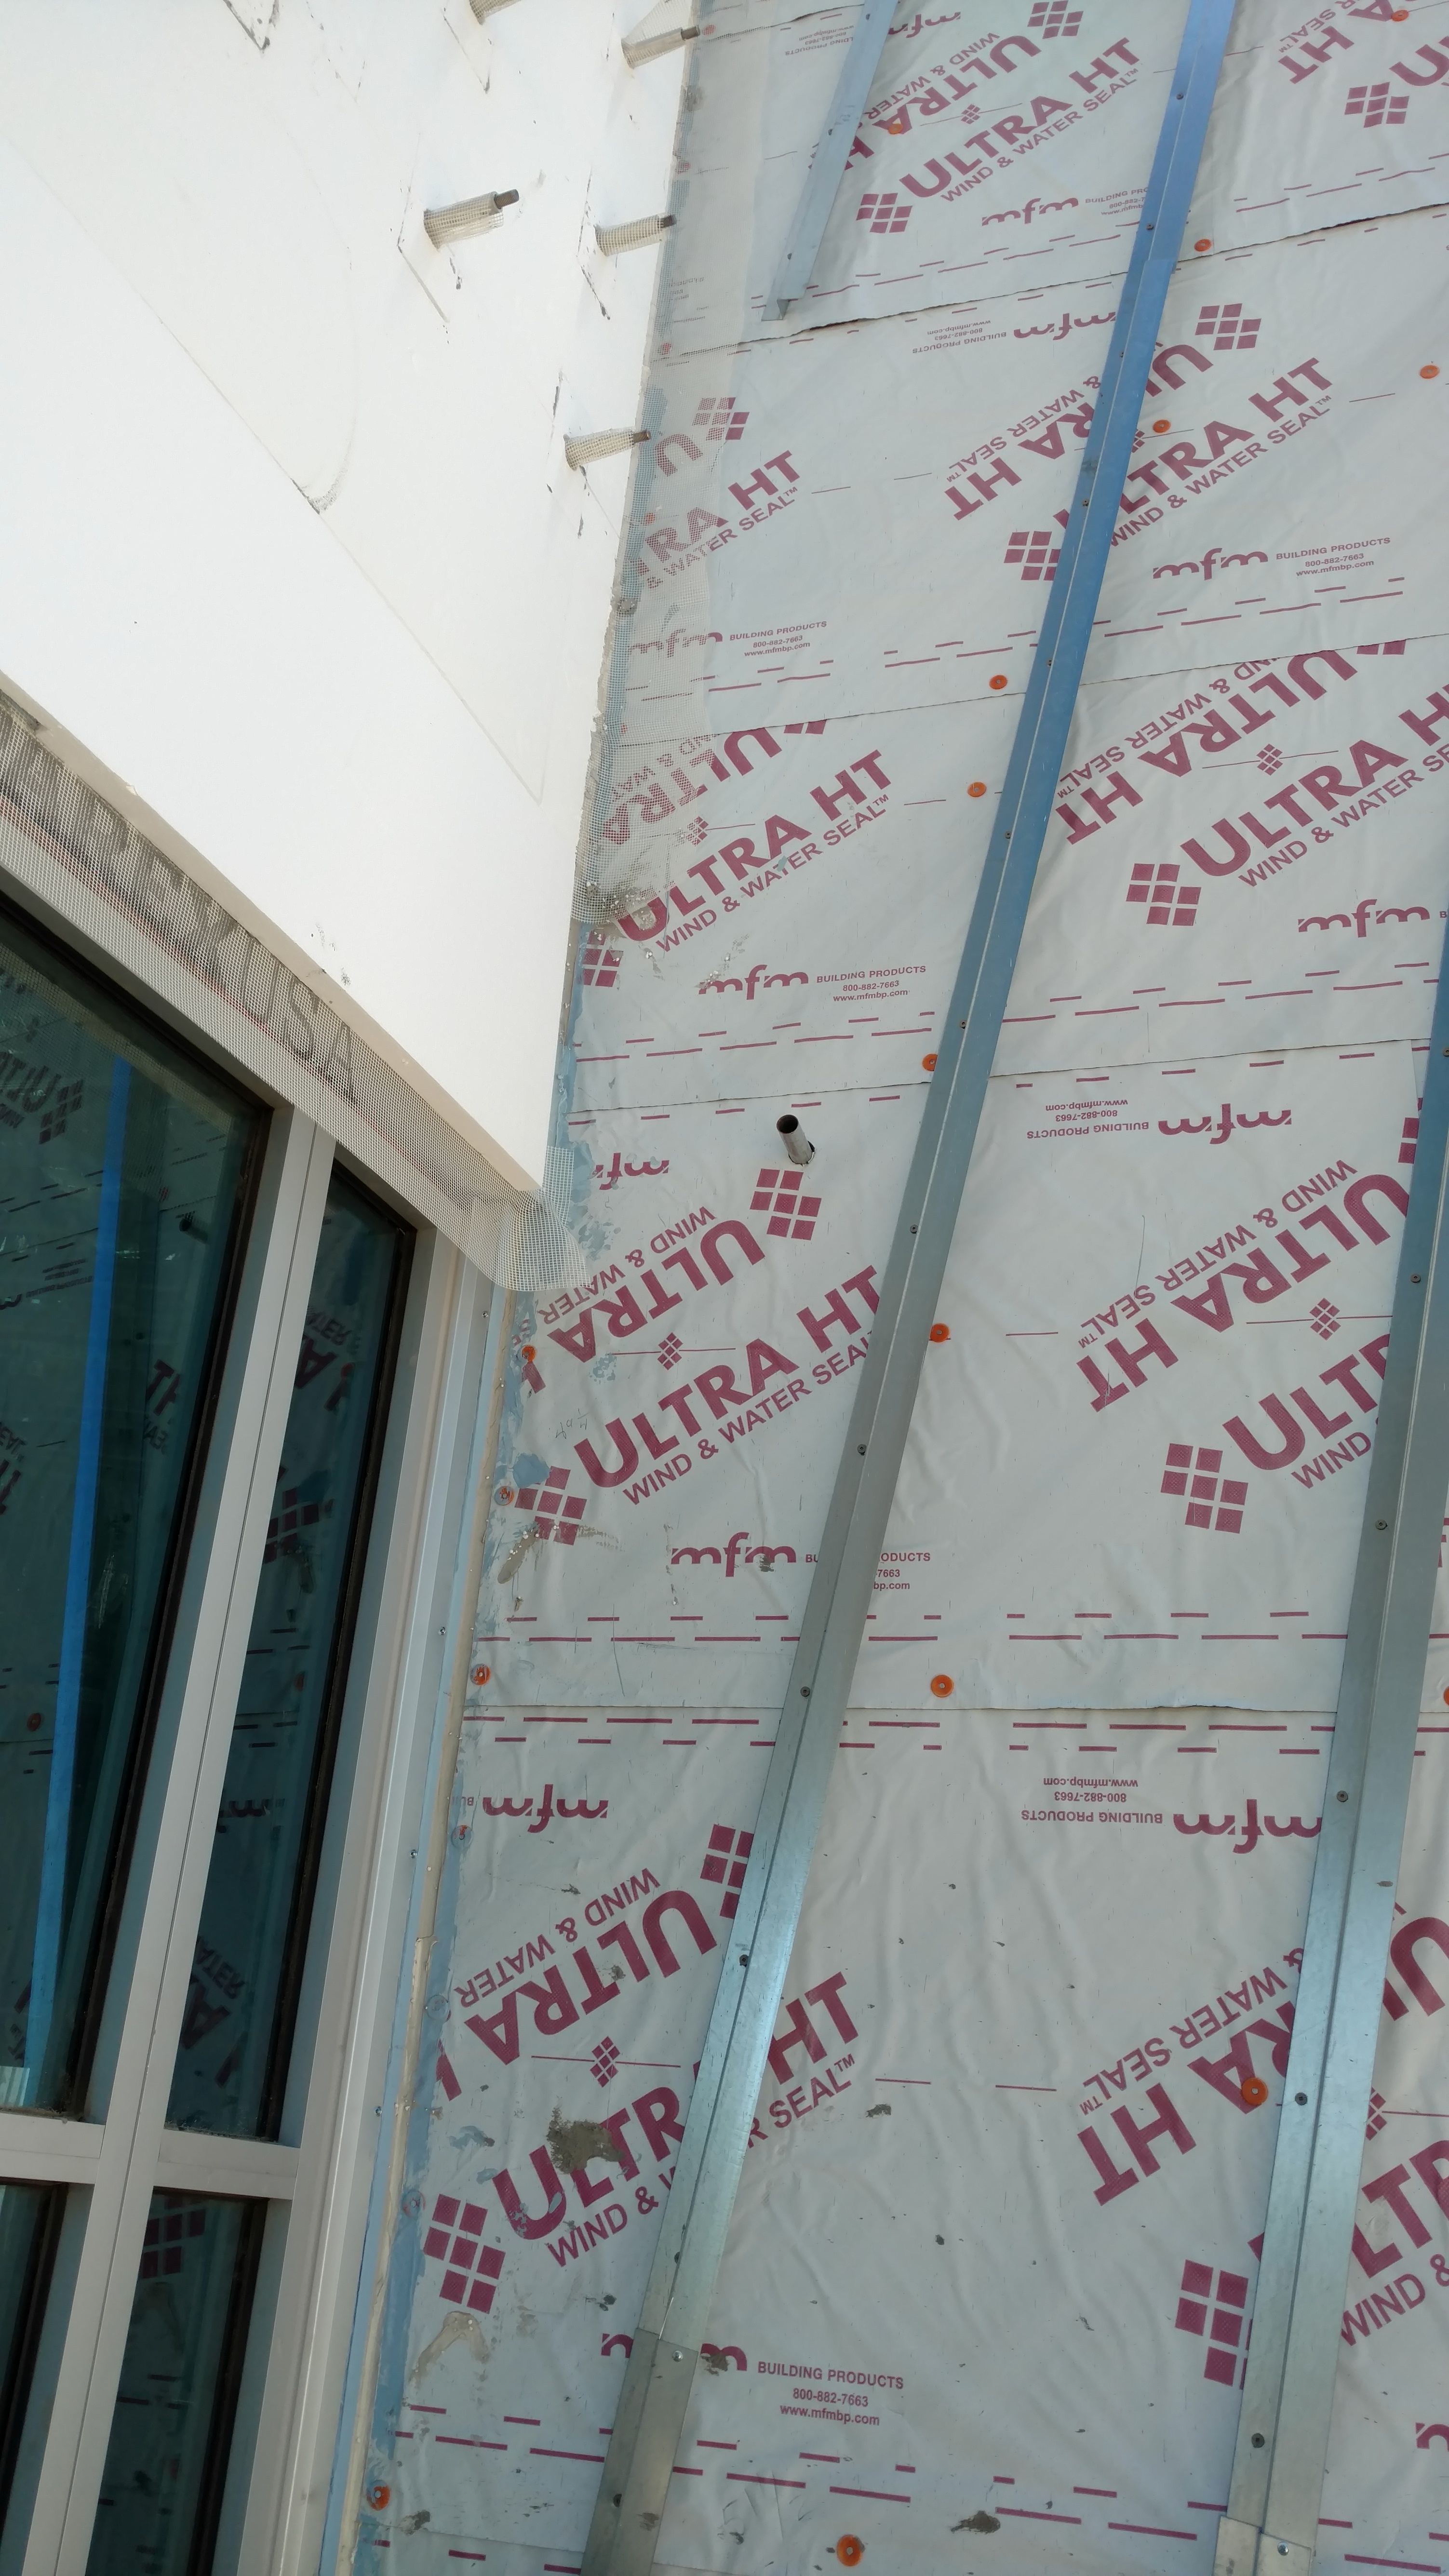
In a vertical installation, again, start at the bottom of the wall and work towards the top. If the membrane does not reach the top, back nail button caps 12 inches OC. Use a 6-inch end lap to cover the row of button caps with a new section of underlayment.
A termination bar must be installed at the top of each course. Once again, secure button caps 12 inches OC to adequately hold the membrane in place. Use a minimum of 3-inch side laps and 6-inch end laps as you continue to work across the wall. These overlap areas can conceal the button caps. Another aspect of ASTM D1970 is that the underlayment must be self-sealing around fasteners by demonstrating that the membrane has a “pass” on self-sealability per ASTM D1970/ASTM D7349.
In essence, the adhesive system will seal around the button caps to maintain a complete waterproofing barrier by showing no water on the substrate underside, on the fastener shank, or between the membrane and substrate.
The last area of concern is that self-adhered underlayments are vapor barriers. If meeting ASTM E96, then the membrane demonstrates that it offers a moisture vapor permeance of ≤0.1 perms. As with any vapor barrier, the contractor must allow for proper ventilation of the wall system by leaving a minimum air gap of 1 inch. If the wall system uses a batten system, this will normally provide the necessary air ventilation space required.
Other Factors for Vertical Applications
Although self-adhering or self-stick roofing underlayments have been around for more than 30 years, this new application carries the same factors to consider before deciding on a product:
Building Codes: Know all applicable building codes for sidewall applications, as well as the manufacturer’s recommended installation instructions, prior to the installation. There are often minimum installation temperatures and UV exposure ratings to be considered.
Product Approvals: Self-adhered underlayments can be certified or comply with industry standards to ensure their performance on the jobsite. Always check to see if your project requires a code-approved product, and what that code specifies.
Adhesion: Ensure the substrate is clean, dry and free of waxes, dirt or debris. Dust and dirt will impair the adhesive properties of the self-adhered membrane. Weathered surfaces require the use of a primer prior to installation to provide a clean and smooth surface.
Eliminate Gaps: Do not use the underlayment to bridge gaps in the substrate. Always use a flashing membrane or tape to seal the gap, then install the underlayment.
Caulks and Sealants: Caulks and sealants that contain plasticizers may react adversely to the adhesive system of the underlayment, which may cause the mastic to liquefy. It is the responsibility of the installer to ensure that the underlayment is compatible with any product it will come in contact with.
Apply Pressure: Apply sufficient pressure with a hand roller over the entire surface, paying special attention to any overlap areas.
David Delcoma is product marketing manager, MFM Building Products Corp., Coshocton, Ohio. For more information, email ddelcoma@mfmbp.com, call (800) 882-7663 or visit www.mfmbp.com.